How to add an image in Photoshop
Disclaimer: Hey there, friend! This article includes affiliate links & I would LOVE if you decided to use them. Affiliate links + referrals programs help creators and educators like me to fund the free content that we provide on our blogs. Thank you for your endless support!
If you’re new to Adobe Photoshop, you might not be familiar with the fundamentals of the program just yet, such as adding an image. But no need to stress yourself out— I’ve got you covered! Below, you will find a quick and simple tutorial to add an image to your Adobe Photoshop (PSD) document.

Please Note: Before scrolling through this tutorial, you should first identify what you mean by “adding an image in Photoshop”. Below, I will be covering the following subtopics in more detail:
How to add/insert/upload an image to Photoshop
How to open a photo in Photoshop
How to import an image into Photoshop
To insert your own photo/branding elements to a Photoshop document, you will need to understand the concept of smart-objects. Smart objects are Photoshop layers that contain large items within a separate document, and an example of this might be a high-quality image. The main purpose of a smart-object is to preserve the original file size of the element while minimizing or maximizing it in Photoshop.
For this example, lets just say that you already have a Photoshop template ready to go and you simply need to add your images to it. To place your own images in the Photoshop document:
1. Open the .PSD template file you would like to work with in Photoshop (feeling overwhelmed and need a pre-made Photoshop template? I’ve got you covered! Check out the pre-made Photoshop templates in my shop! They are perfect for small, creative business owners who don’t have time for DIY but also don’t quite yet have the budget to hire a graphic designer).
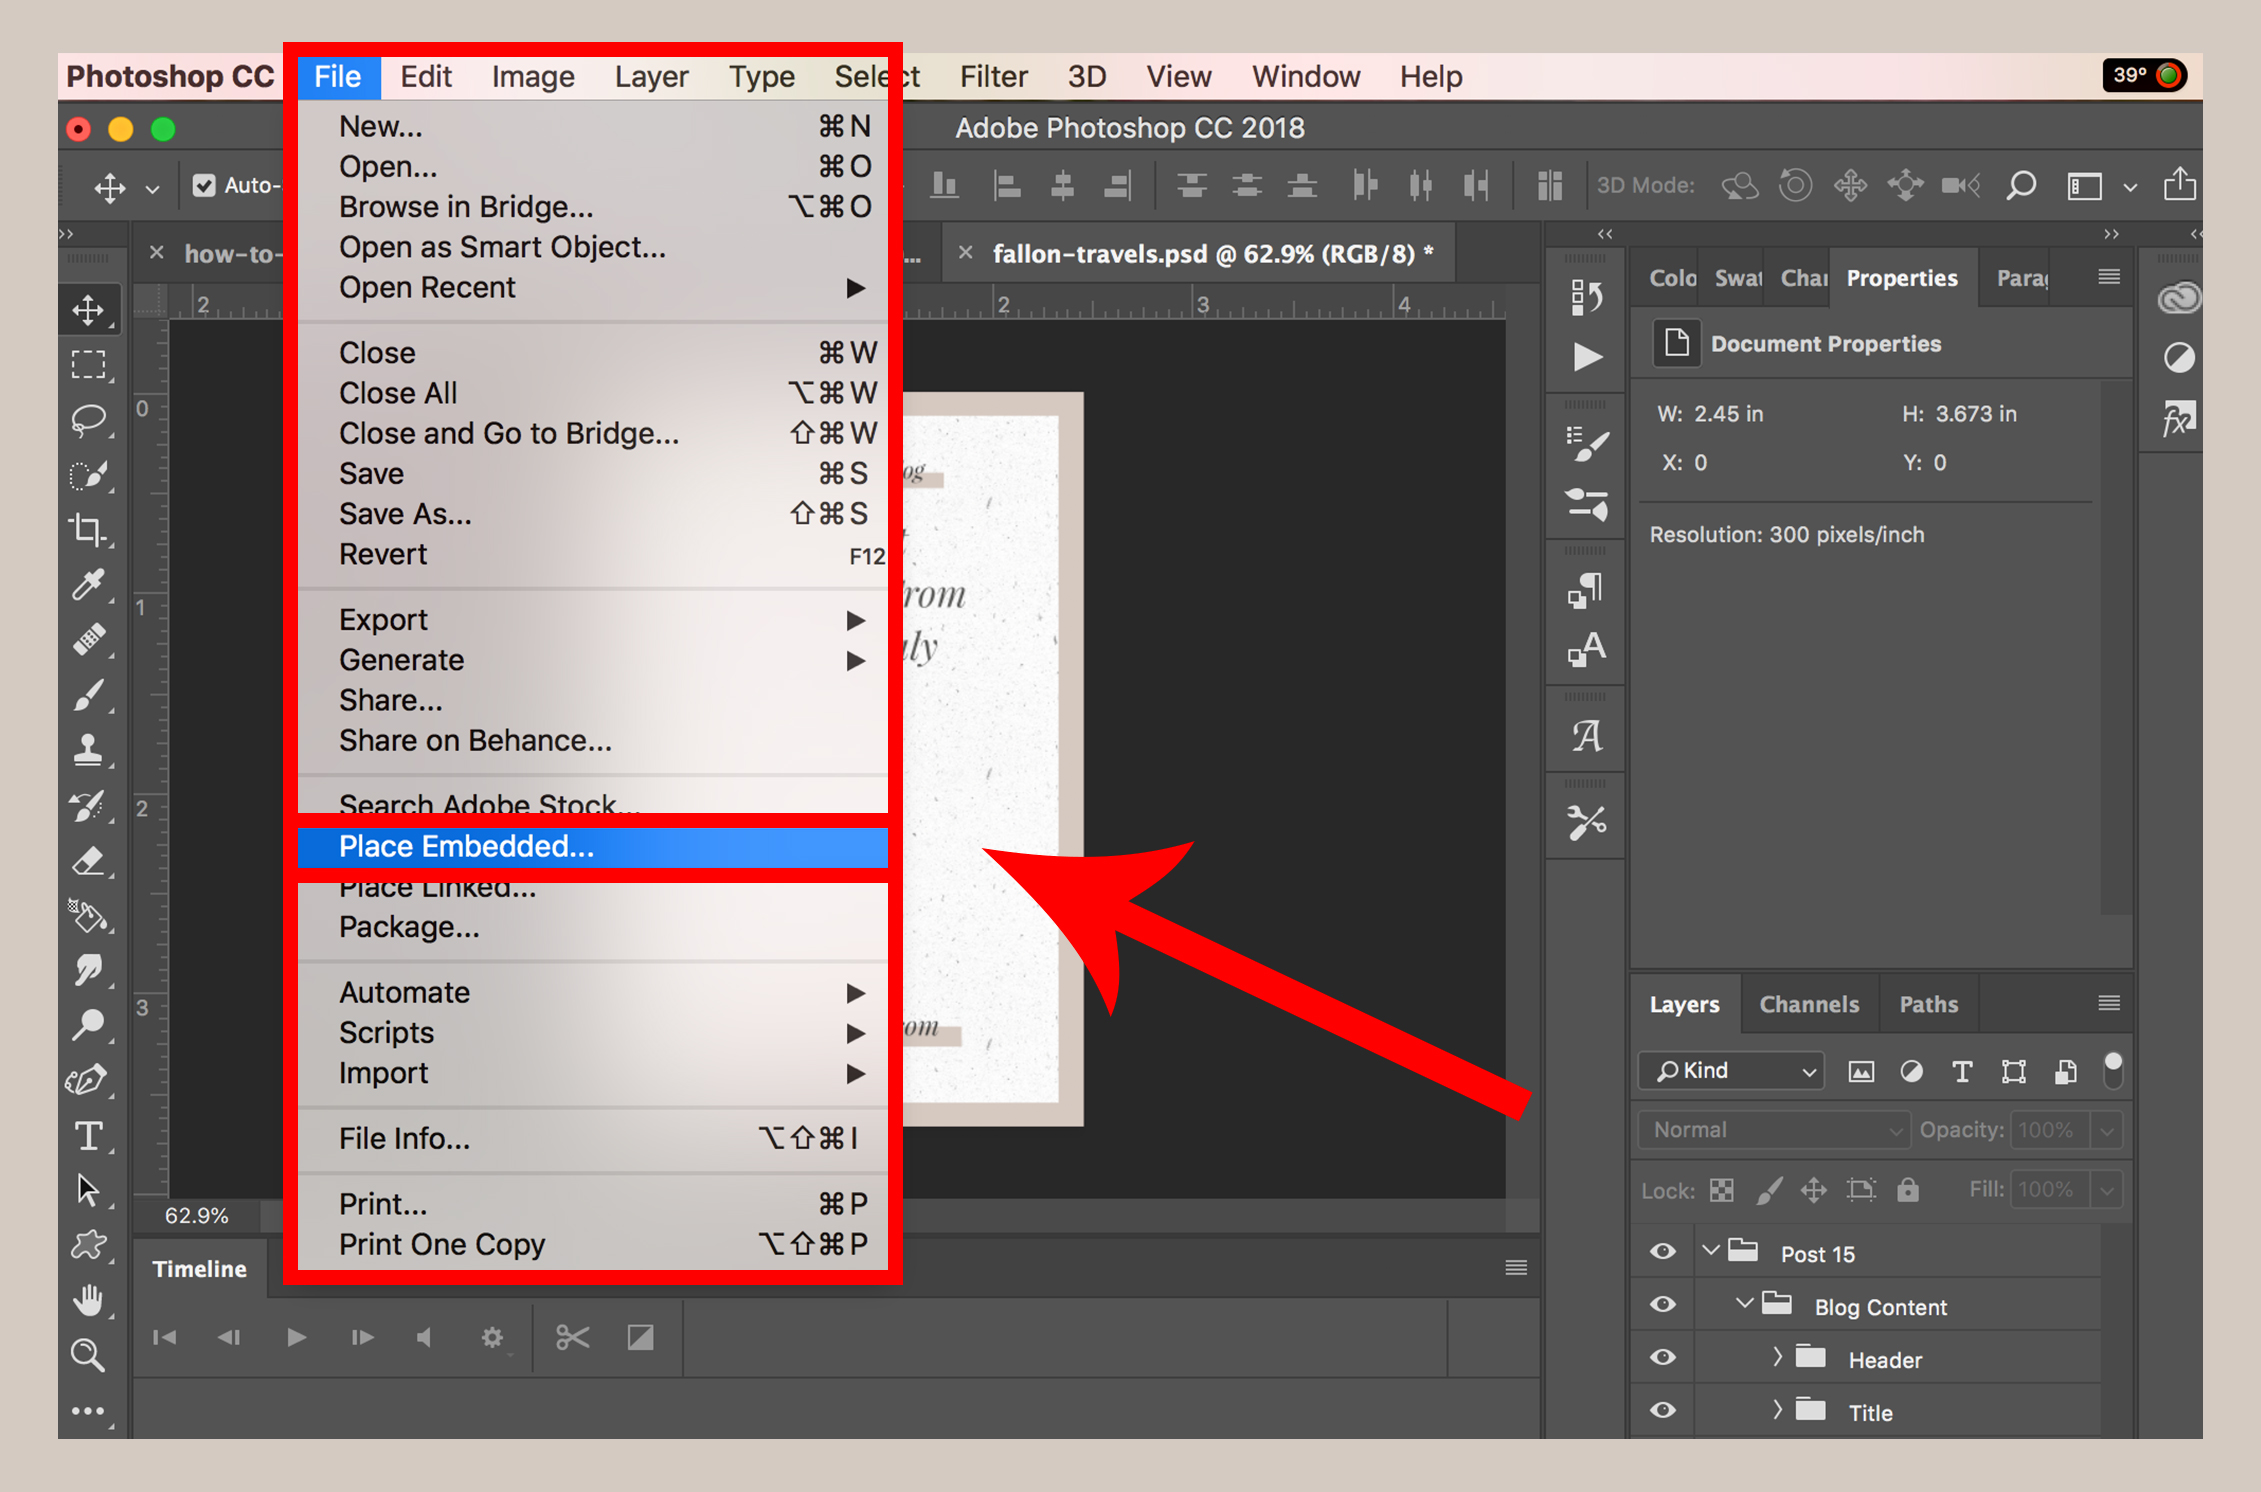
2. Insert your photo or design into the document area. You can either paste/drag this in or head to File > Place Embedded…
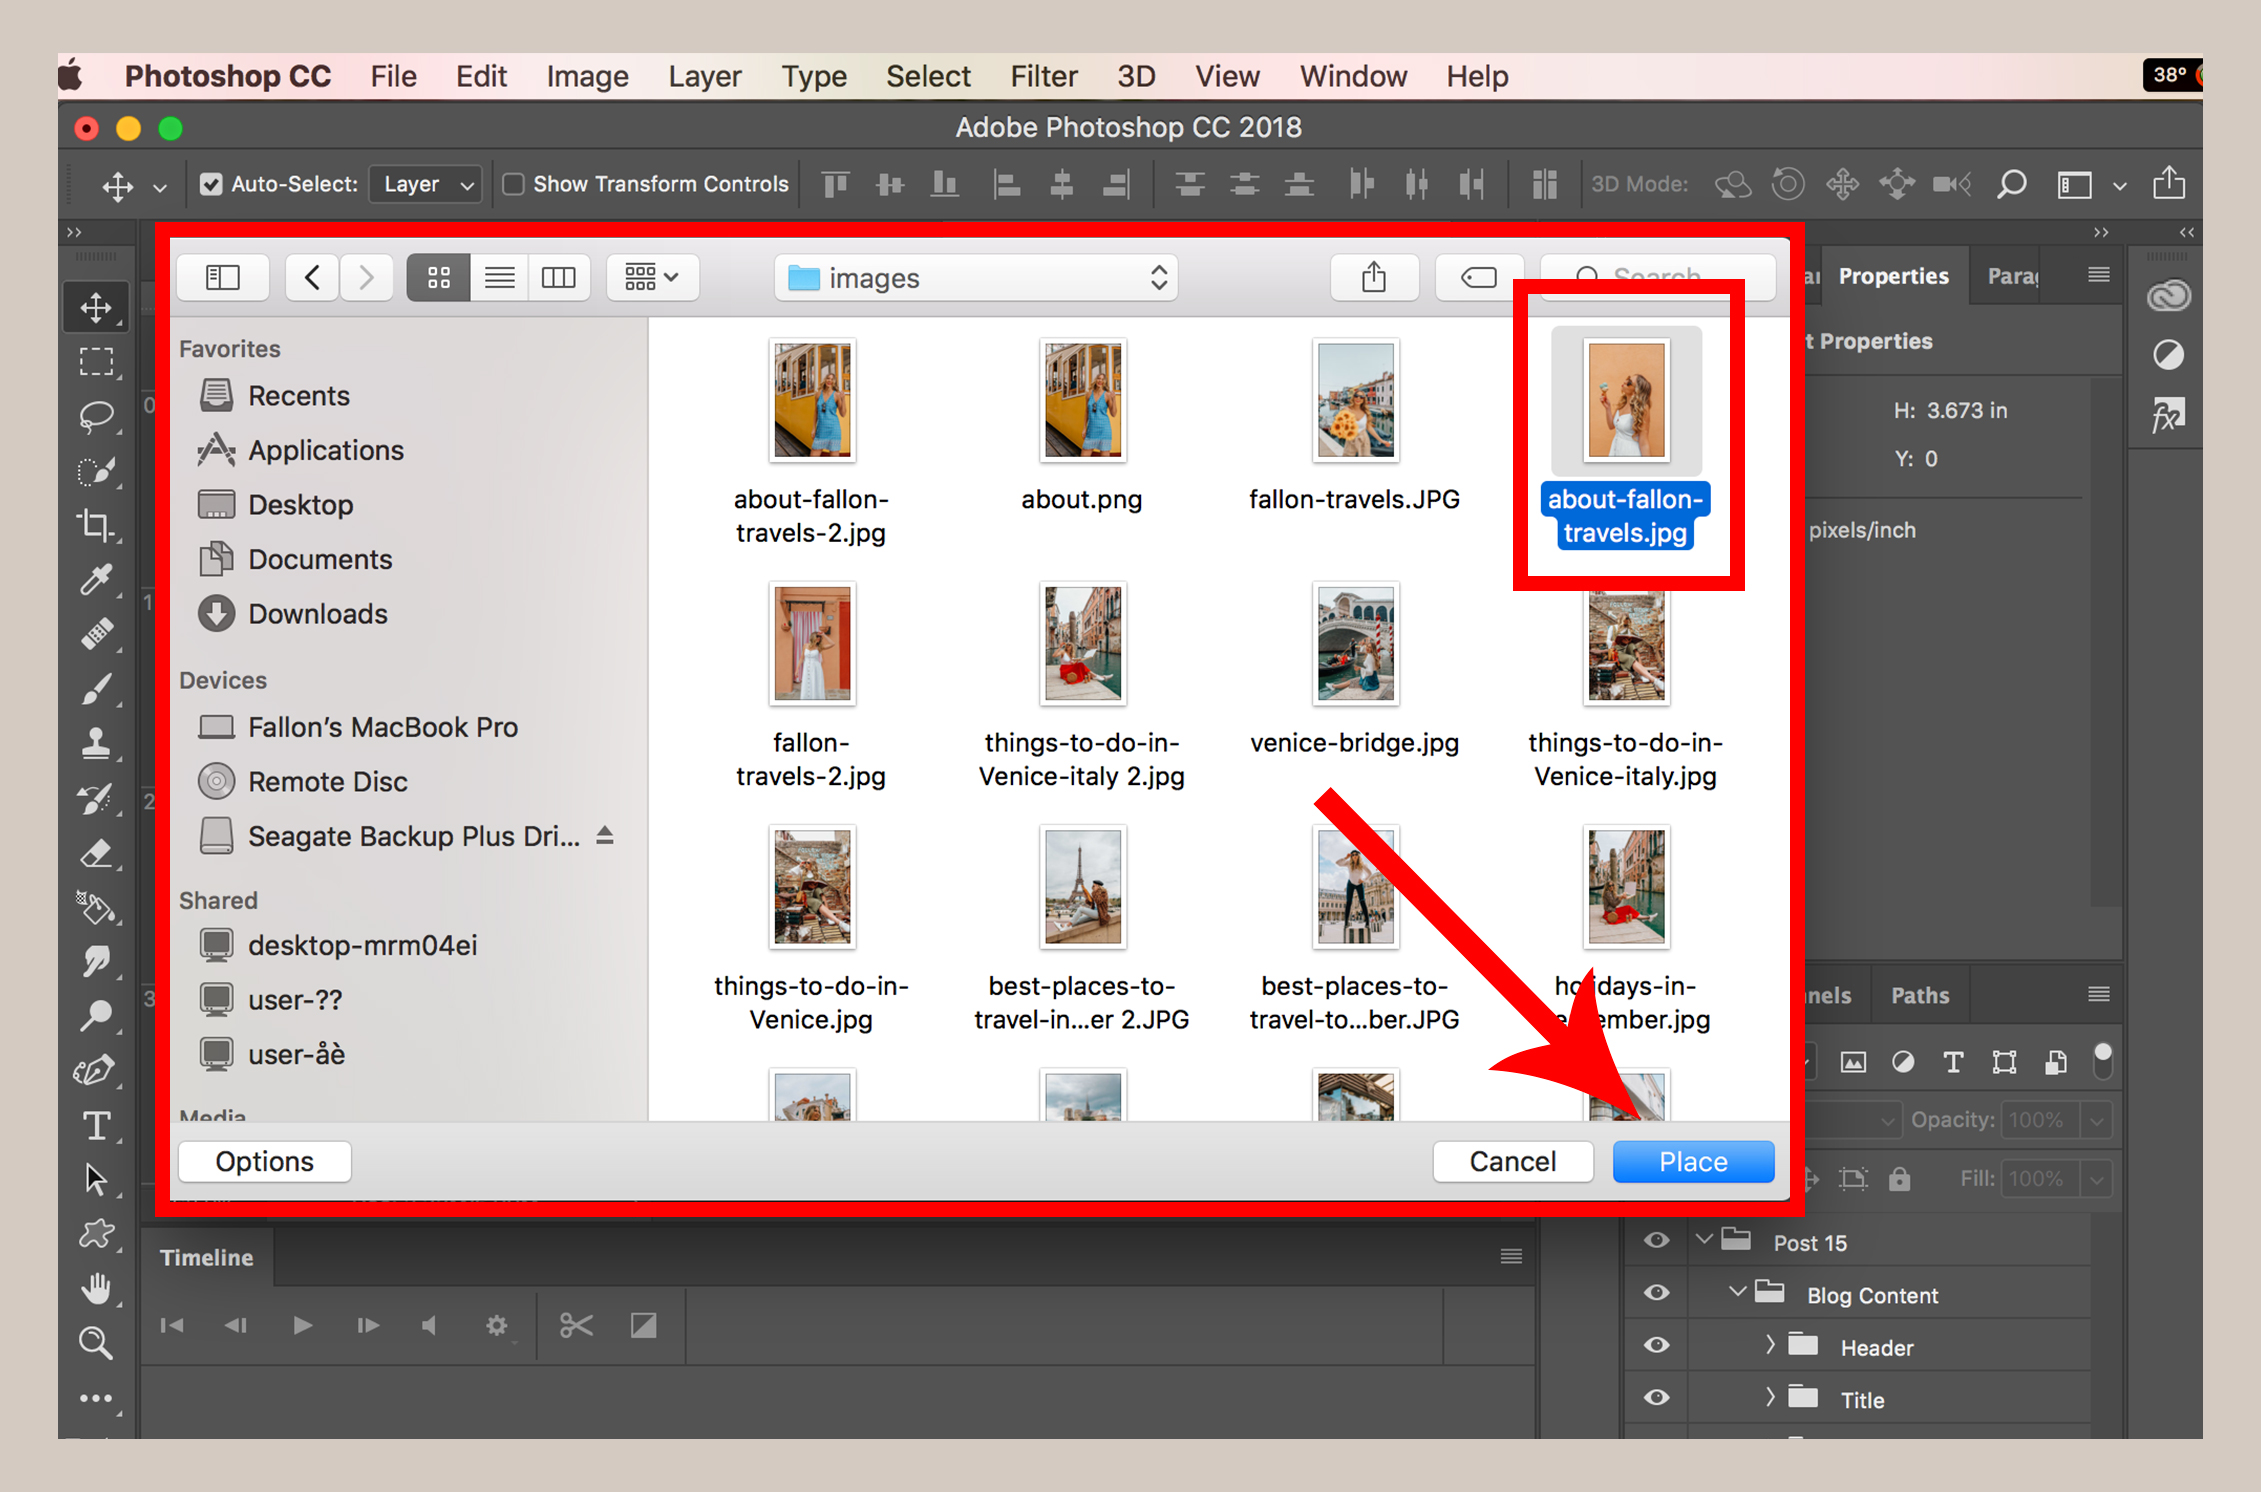
3. After selecting File > Place Embedded…, a new window will pop up instructing you to choose an element from your Desktop - navigate to the folder containing the image you would like to use for the template. Choose your image and select Place.
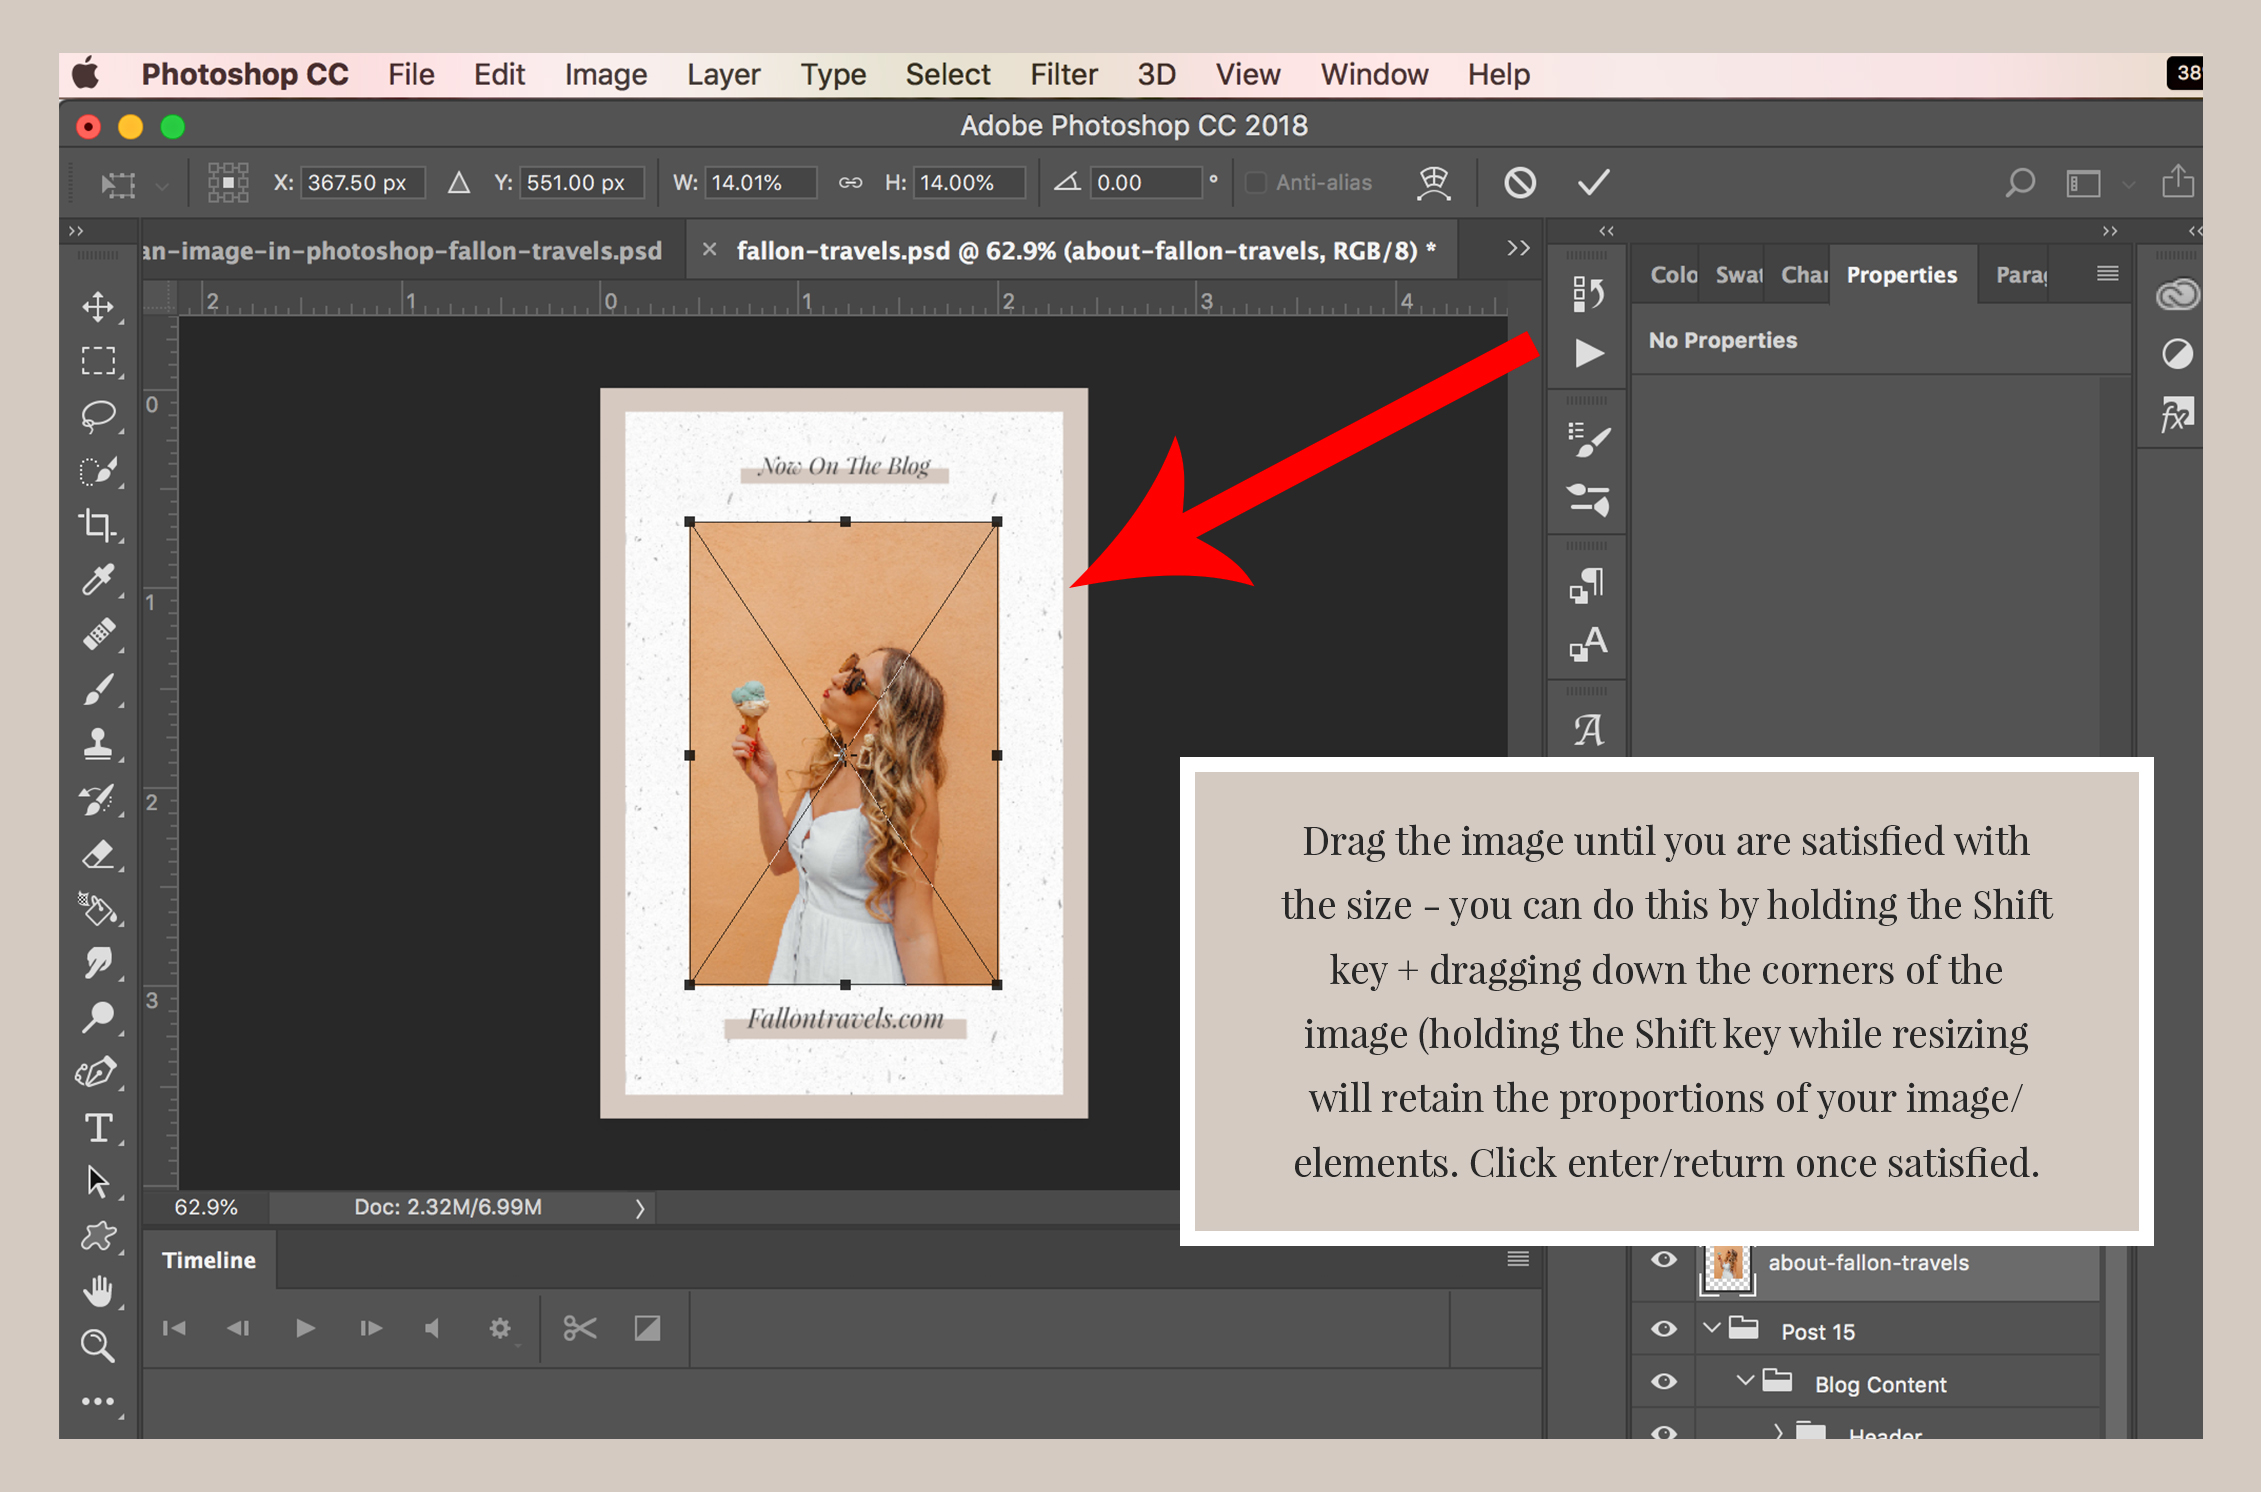
4. Your chosen image will then be placed into the Photoshop document for you. Drag the image until you are satisfied with the size - you can do this by holding the Shift key + dragging down the corners of the image (holding the Shift key while resizing will retain the proportions of your image/elements. Click enter/return once satisfied.
5. Your placed image will automatically be converted into a Smart Object. You can choose to leave it as a Smart Object if you wish (Smart Objects are larger in file size). However, to save you some space, I’ll explain how to rasterize the image.
6. With your image selected, head up to the “Layer” section of your toolbar and select “Rasterize > Smart Object”.
7. Once you have finished, make sure to save the document by clicking File > Save or Ctrl + S (for PC) or Cmd + S (for MAC). You can exit the window, and your image will now be placed into the template document area.
How to Open a Photo in Photoshop
Opening an image in Photoshop is going to be a different process altogether, and there are a few different methods you can use to make it happen!
Method 1
1. Locate the image that you would like to open in Photoshop and right-click on it (ctrl right-click on Mac). Find Open With and select Adobe Photoshop.

2. You will now see your image display in a new Photoshop document.

Method 2
First, you’ll need to open up Photoshop on your desktop/browser.
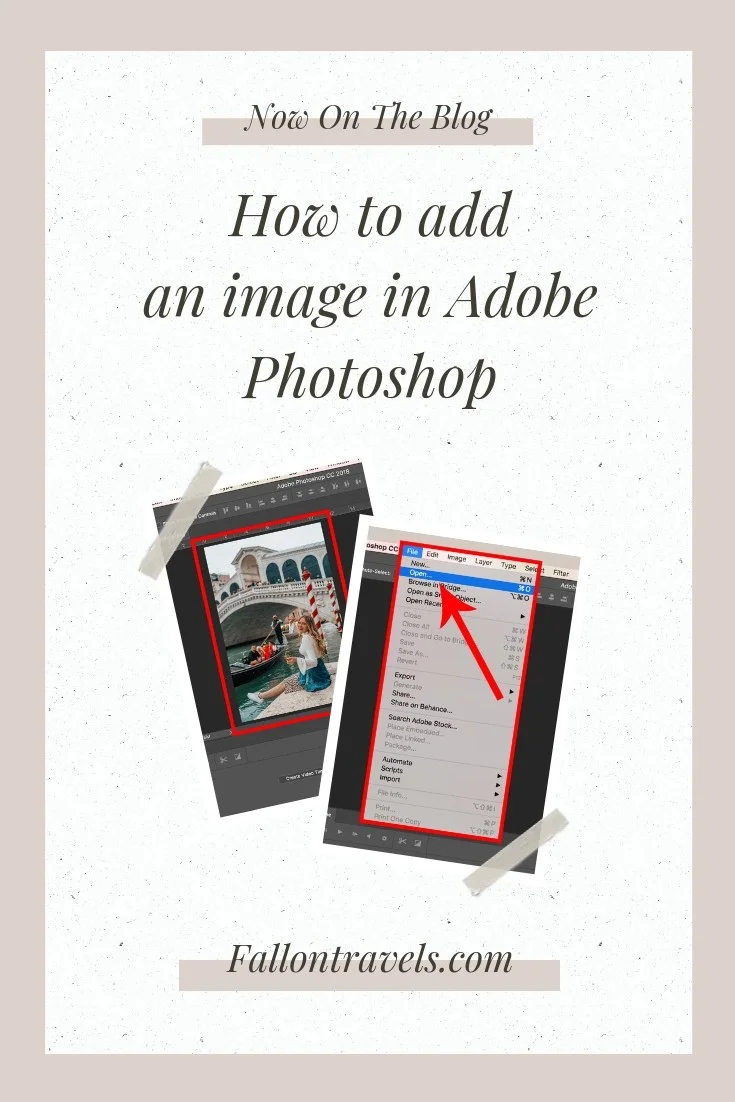
1. Once you have Photoshop open, head over to File and select Open…

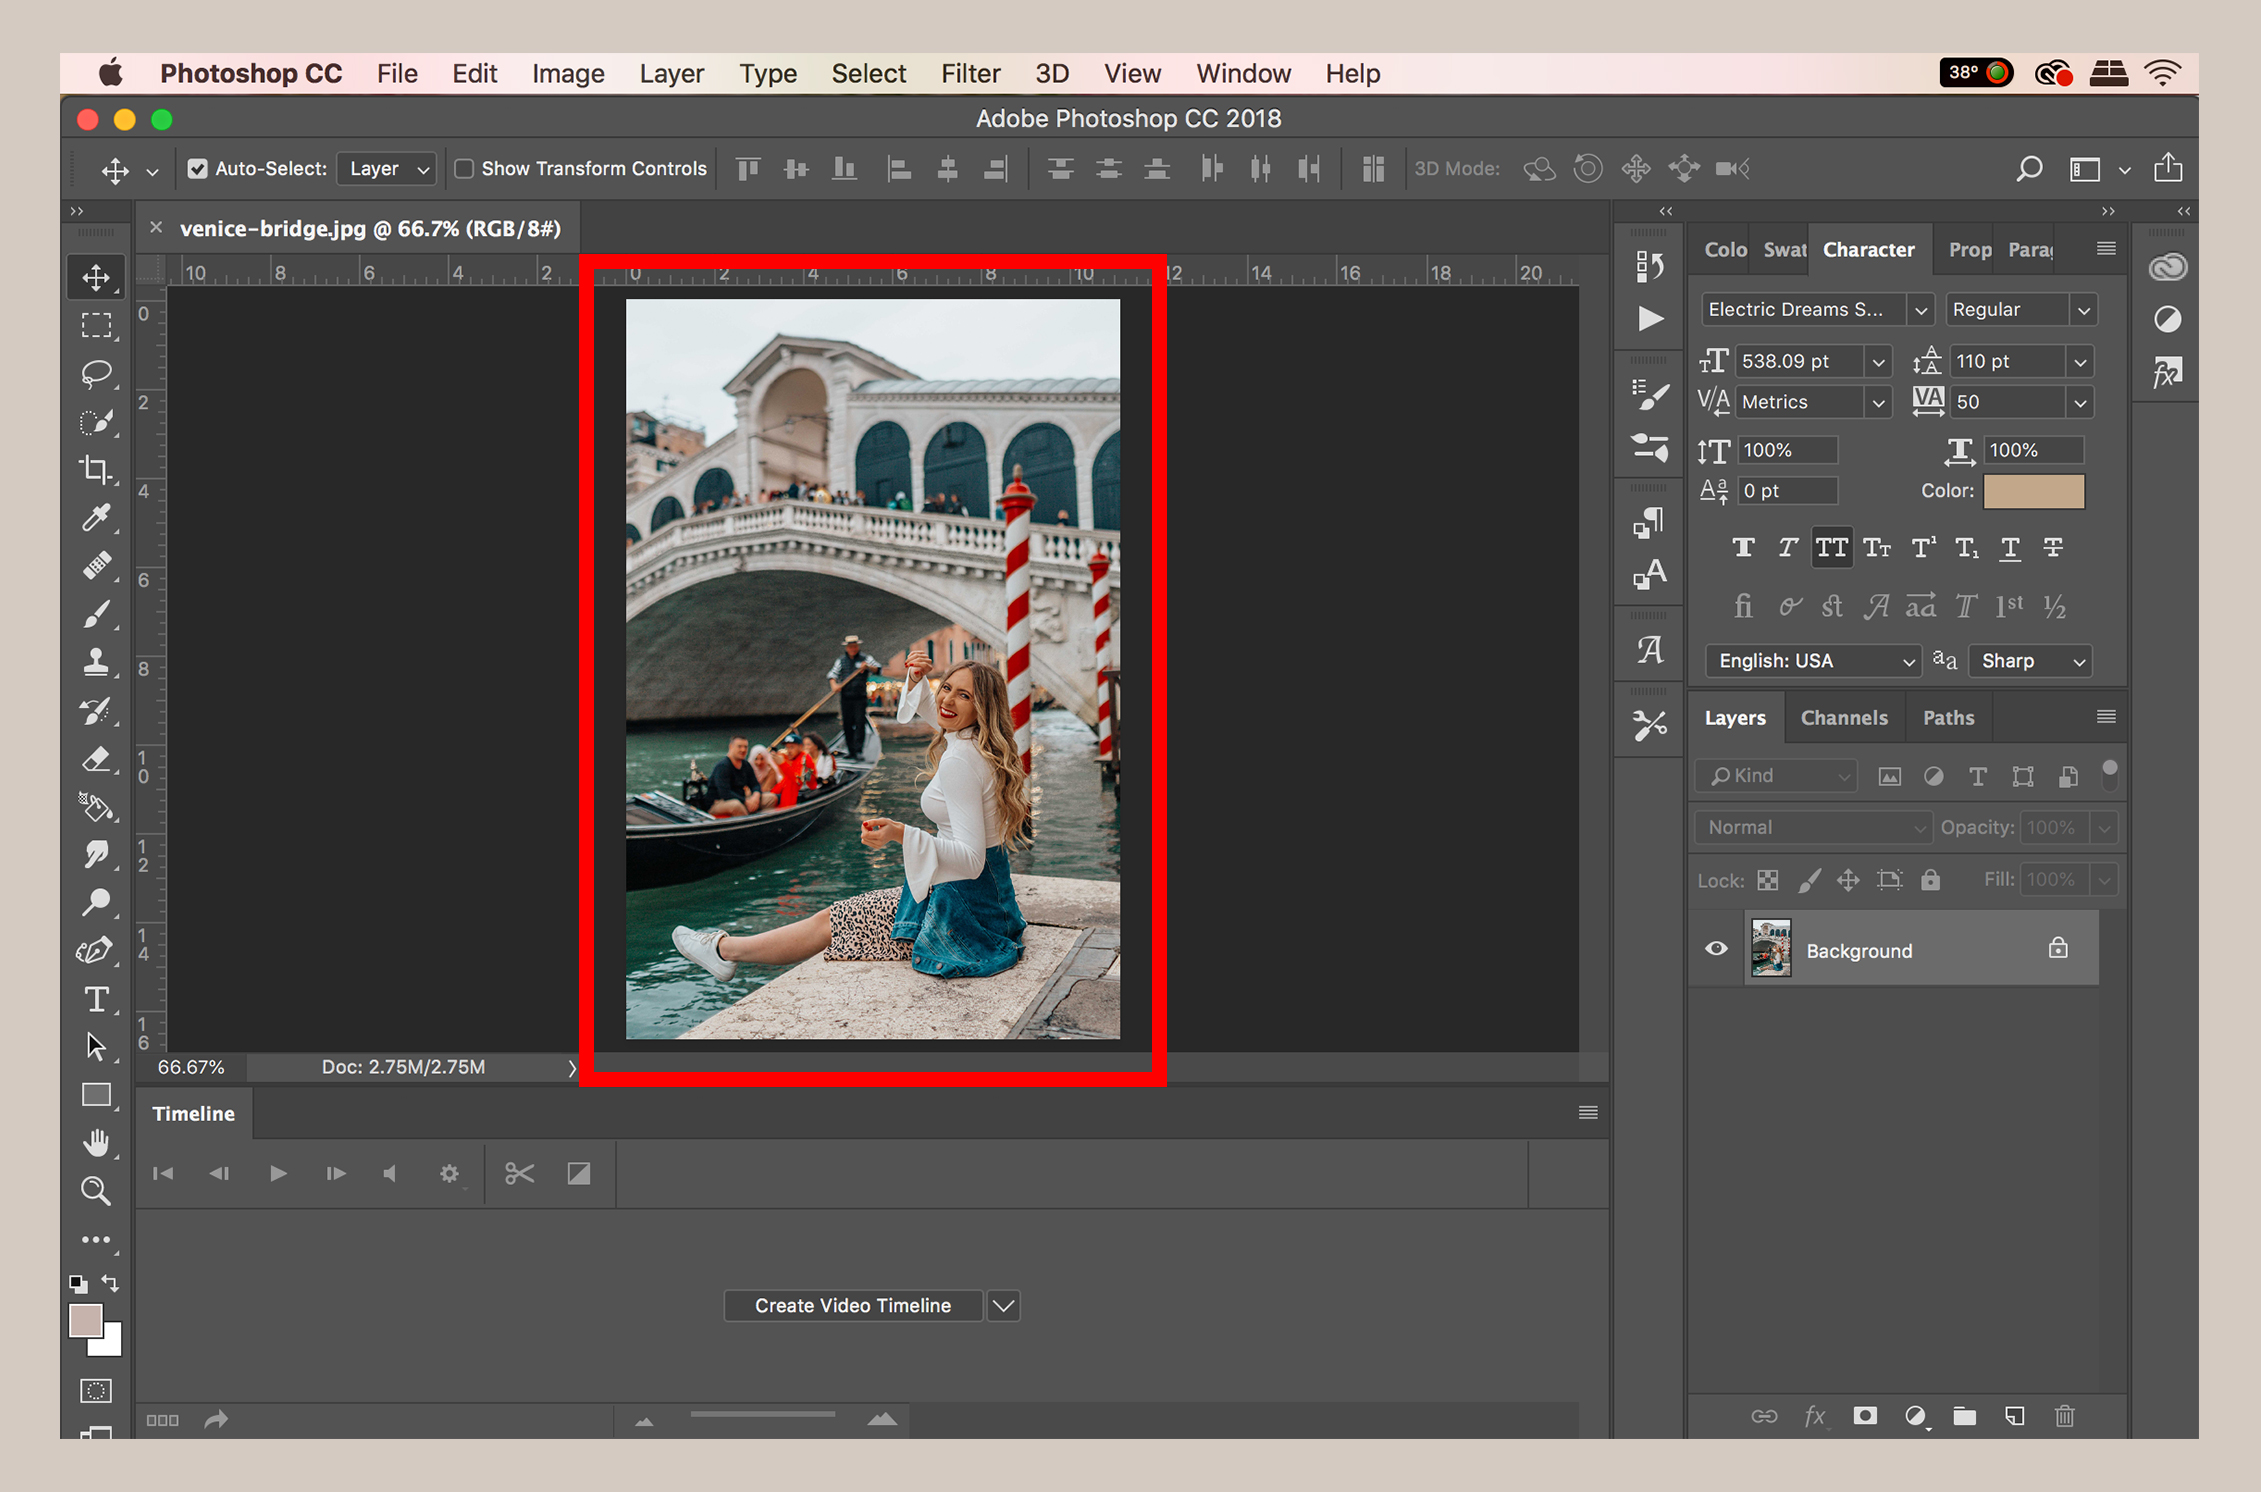
2. A new window will appear. Simply locate the image you would like to use from your desktop/hard drive and then select Open.

3. Your image will now be placed in a new Photoshop document! Quick & simple. :)
Hope this tutorial on how to add an image in Photoshop was helpful for ya! Feel free to save it by “pinning” it to any of your Photoshop/tech boards on Pinterest! If I missed something or you have any questions at all, please feel free to drop a comment below and I’ll get back with you as soon as possible. :)
Hi there! I’m Fallon. A Florida native who, after receiving my masters degree in the U.K., decided to nix the 9-5 path in search of something more. Now, I run my graphic and web design business straight from my laptop, all while traveling the world. I’ve now traveled to over 25 countries and have knocked some pretty big adventures off my bucket list… and I’m just getting started. Follow along my journey as I present tips, guides and resources on solo female travel, photography, videography, entrepreneurship & the crazy lifestyle of a digital nomad.