Camera Settings - A Beginners Guide To Manual Mode
I’ve been getting a few inquiries recently about travel photography and, particularly, about the style of my photography. Most photographers are able to get a certain unique style to their photos by leveraging three things: Camera RAW, photo editing and manual mode camera settings. Today I wanted to offer a quick photography for beginners guide to shooting in manual mode on your DSLR camera. I typically shoot using my Canon 5D Mark iii with my Canon 35 mm f/1.4 L lens , but this article can be applied to most DSLRs and lenses.
Feel free to skip to any specific section using the links below. :)
Table of Contents
Shutter, Aperture and ISO:
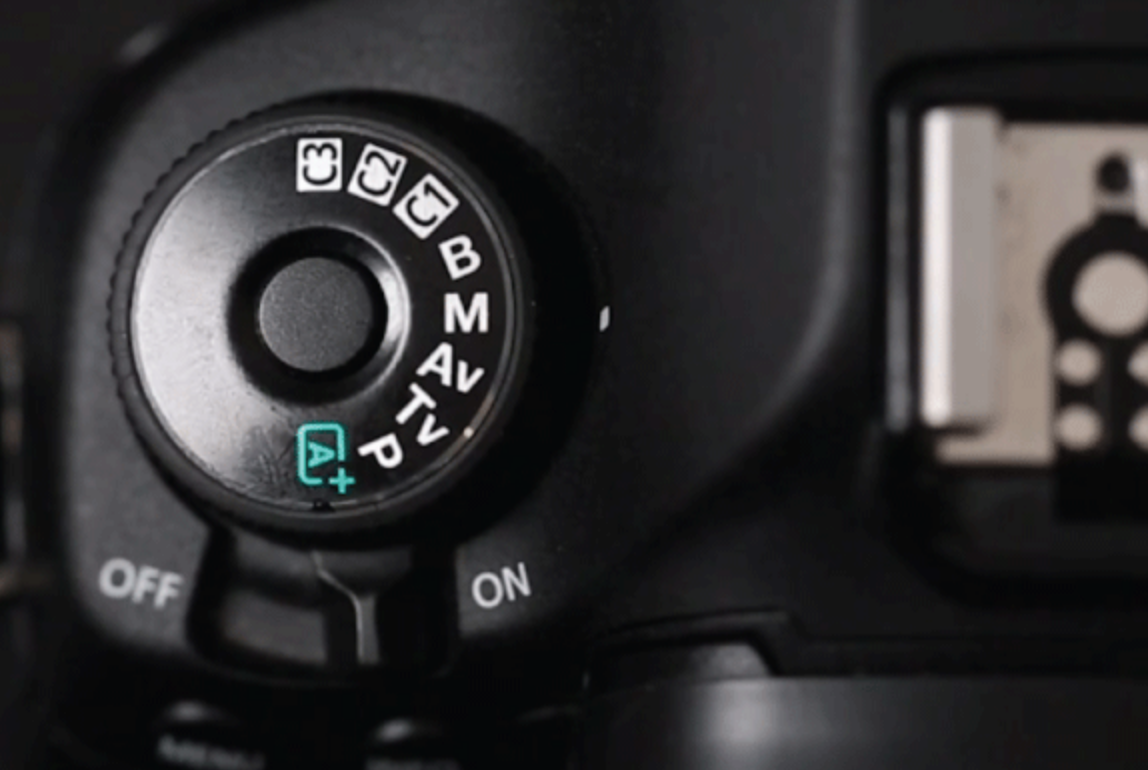
There are 3 important things you will need to focus on with shooting in manual mode camera settings: the shutter speed, the aperture and the ISO. Shooting in manual mode is so important because it allows you to have full control over what your images look like. With my personal style, I love to shoot quite sharp but with a nice depth of field. So I typically tend to shoot at a low aperture of around f/1.4 to get that unique style.
I also love shooting in manual mode because it makes editing in Adobe Lightroom a breeze when all of my photos look exactly the same and my camera settings aren’t shifting all over the place in between every photo. While I never shoot using auto mode camera settings now, I did use these settings when I first began my photography journey.
I found that when I turned on auto mode camera settings in the past, the settings for my photos ended up being pretty all over the place, which made my job pretty difficult when editing in Lightroom. For example, my aperture might have jumped from f/2.5 all the way up to f/9 just from moving my camera in a slightly different direction. You have no control over what your camera will do, and this limits you a lot in the photo editing process.
Related: How to Shoot in Manual Mode
Basic Camera Settings:
I’m going to give you a quick rundown over what the shutter speed, aperture and ISO are. Essentially, the shutter is the mirror inside the camera flipping open and close every time you take a photo. On the Canon 5D Mark iii, you can have it as fast as 1/8000, and if you want to do a long exposure, you can have it as low as 30 seconds (so the mirror will stay open for 30 whole seconds). The aperture are the blades inside your lens. So if you have it open at 1.4, the blades will be wide open, resulting in a lot of light coming in to your photo and a really wide depth of field (which is how you get the unique style of bokeh and a blurry background). If you put your aperture settings higher, say at 1.8, the blades close so that you get less light in the photo with a result of more sharpness as well.
And then we have ISO which is your sensor sensitivity. I always leave my ISO at the lowest possible setting which is 100. You can also put your ISO up to very high settings like 100,000, but you typically only need to do this for night photography or if it’s really dark in your shooting environment. However, keep in mind that the higher your ISO is, the more grainy your images will be. On the 5D Mark iii, I normally don’t like to go past 6400. I find that anything beyond that is a little bit too grainy for my style. So I like to generally keep it between 6400 and 100 when I’m shooting.
Basic Photography Tips
So jumping into actually shooting on manual mode. I know that it can be a bit daunting at first if you’ve never done it before or have always shot with auto settings turned on. However, I promise that once I explain the way I do things and you go out and practice this, it honestly becomes second nature in no time.
Shooting in manual mode really doesn’t take any time away from the photoshoot- it really only makes you a stronger photographer in the long run.
Normally when I’m shooting personal work, I like to leave my aperture wide open— somewhere between f/1.4 (the lowest value my lens is capable of) and 2.5, because I personally just love the style of that bokeh in the background and nice depth of field (blurry look). If I were shooting for paying clients, I would still like to keep my depth of field style on my photos, but I would want to make sure the images were very sharp. So in that case, I would typically shoot at f/2.8 or f/3.5. If I’m shooting landscape photography (as opposed to portrait photography), I like to move my aperture settings up to around f/5.6 to make sure that everything is sharp in the image.
Shooting In Manual Mode:
With that in mind, the first thing I like to do when shooting in manual is selecting what aperture I want to be doing the shoot at. That is typically where I will leave my aperture for the entire day unless the lighting changes dramatically. For example, if it gets really dark, I want to make sure my aperture is at the lowest possible setting, therefore letting in the most light possible (in my case, my lens is capable of a f/1.4 aperture, so that is what I would choose for dark lighting).
The next thing I want to do is move my ISO camera settings down to 100. And once again, if I’m shooting out in the sunlight, ISO 100 is just where it will stay the entire time I shoot. So now you have 2/3 settings that are pretty much set and will not change for the remainder of your shoot.
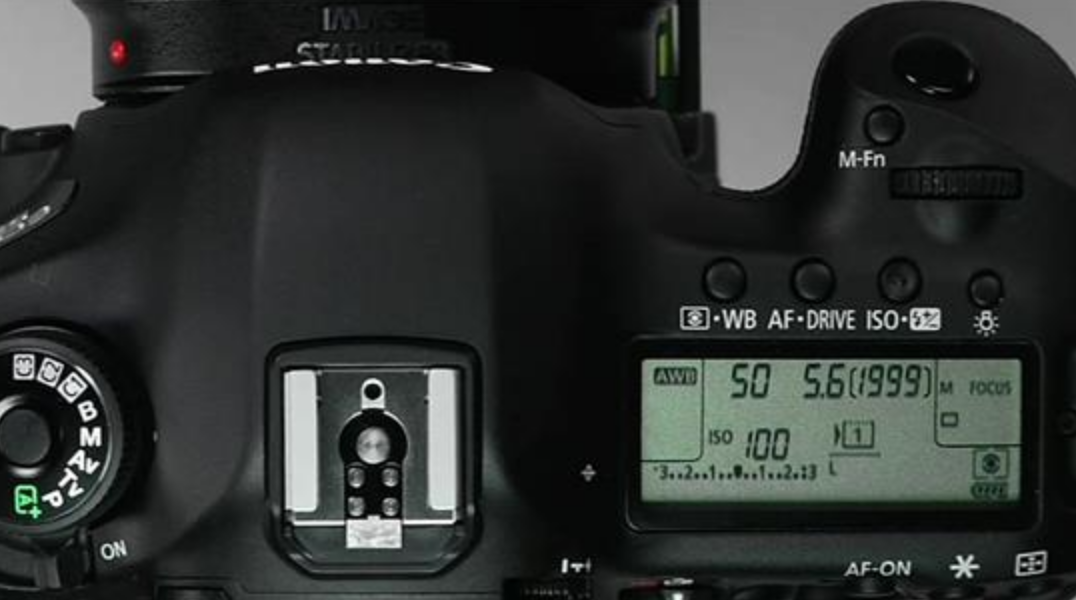
So, the last thing you will need to set on manual is the shutter speed, and that is the setting that is the most important. So what I typically do is point my camera in the direction that I will be taking the photo, and taking a look at my evaluation meter (the lighting meter that’s in the top of the camera). Basically I will just move the meter until I get the little line in the middle). Then I will take a test shot, have a look at the photo, and more likely than not, the exposure will be correct. However, you can make some changes as needed. For example, if I look at the image and it looks a bit dark, then I can just move my shutter down a little bit, and by then, I’ll be ready to shoot.
So I basically do that for each location and each different lighting situation I have for a shoot. So if that all sounds pretty easy, that’s because it kind of is! Honestly, you just need to practice a little bit, take your time and think about what you’re doing.
Best Camera Settings— Outdoor Photography
One of the first camera settings that should be changed for outdoor, bright light photography is the ISO settings. An ISO setting of 100 is going to be the most optimal, so anytime you can swing it— you definitely should. A lower ISO means that you should be shooting in an environment with bright lighting, as the setting will be letting less light into the camera.
Canon Settings:
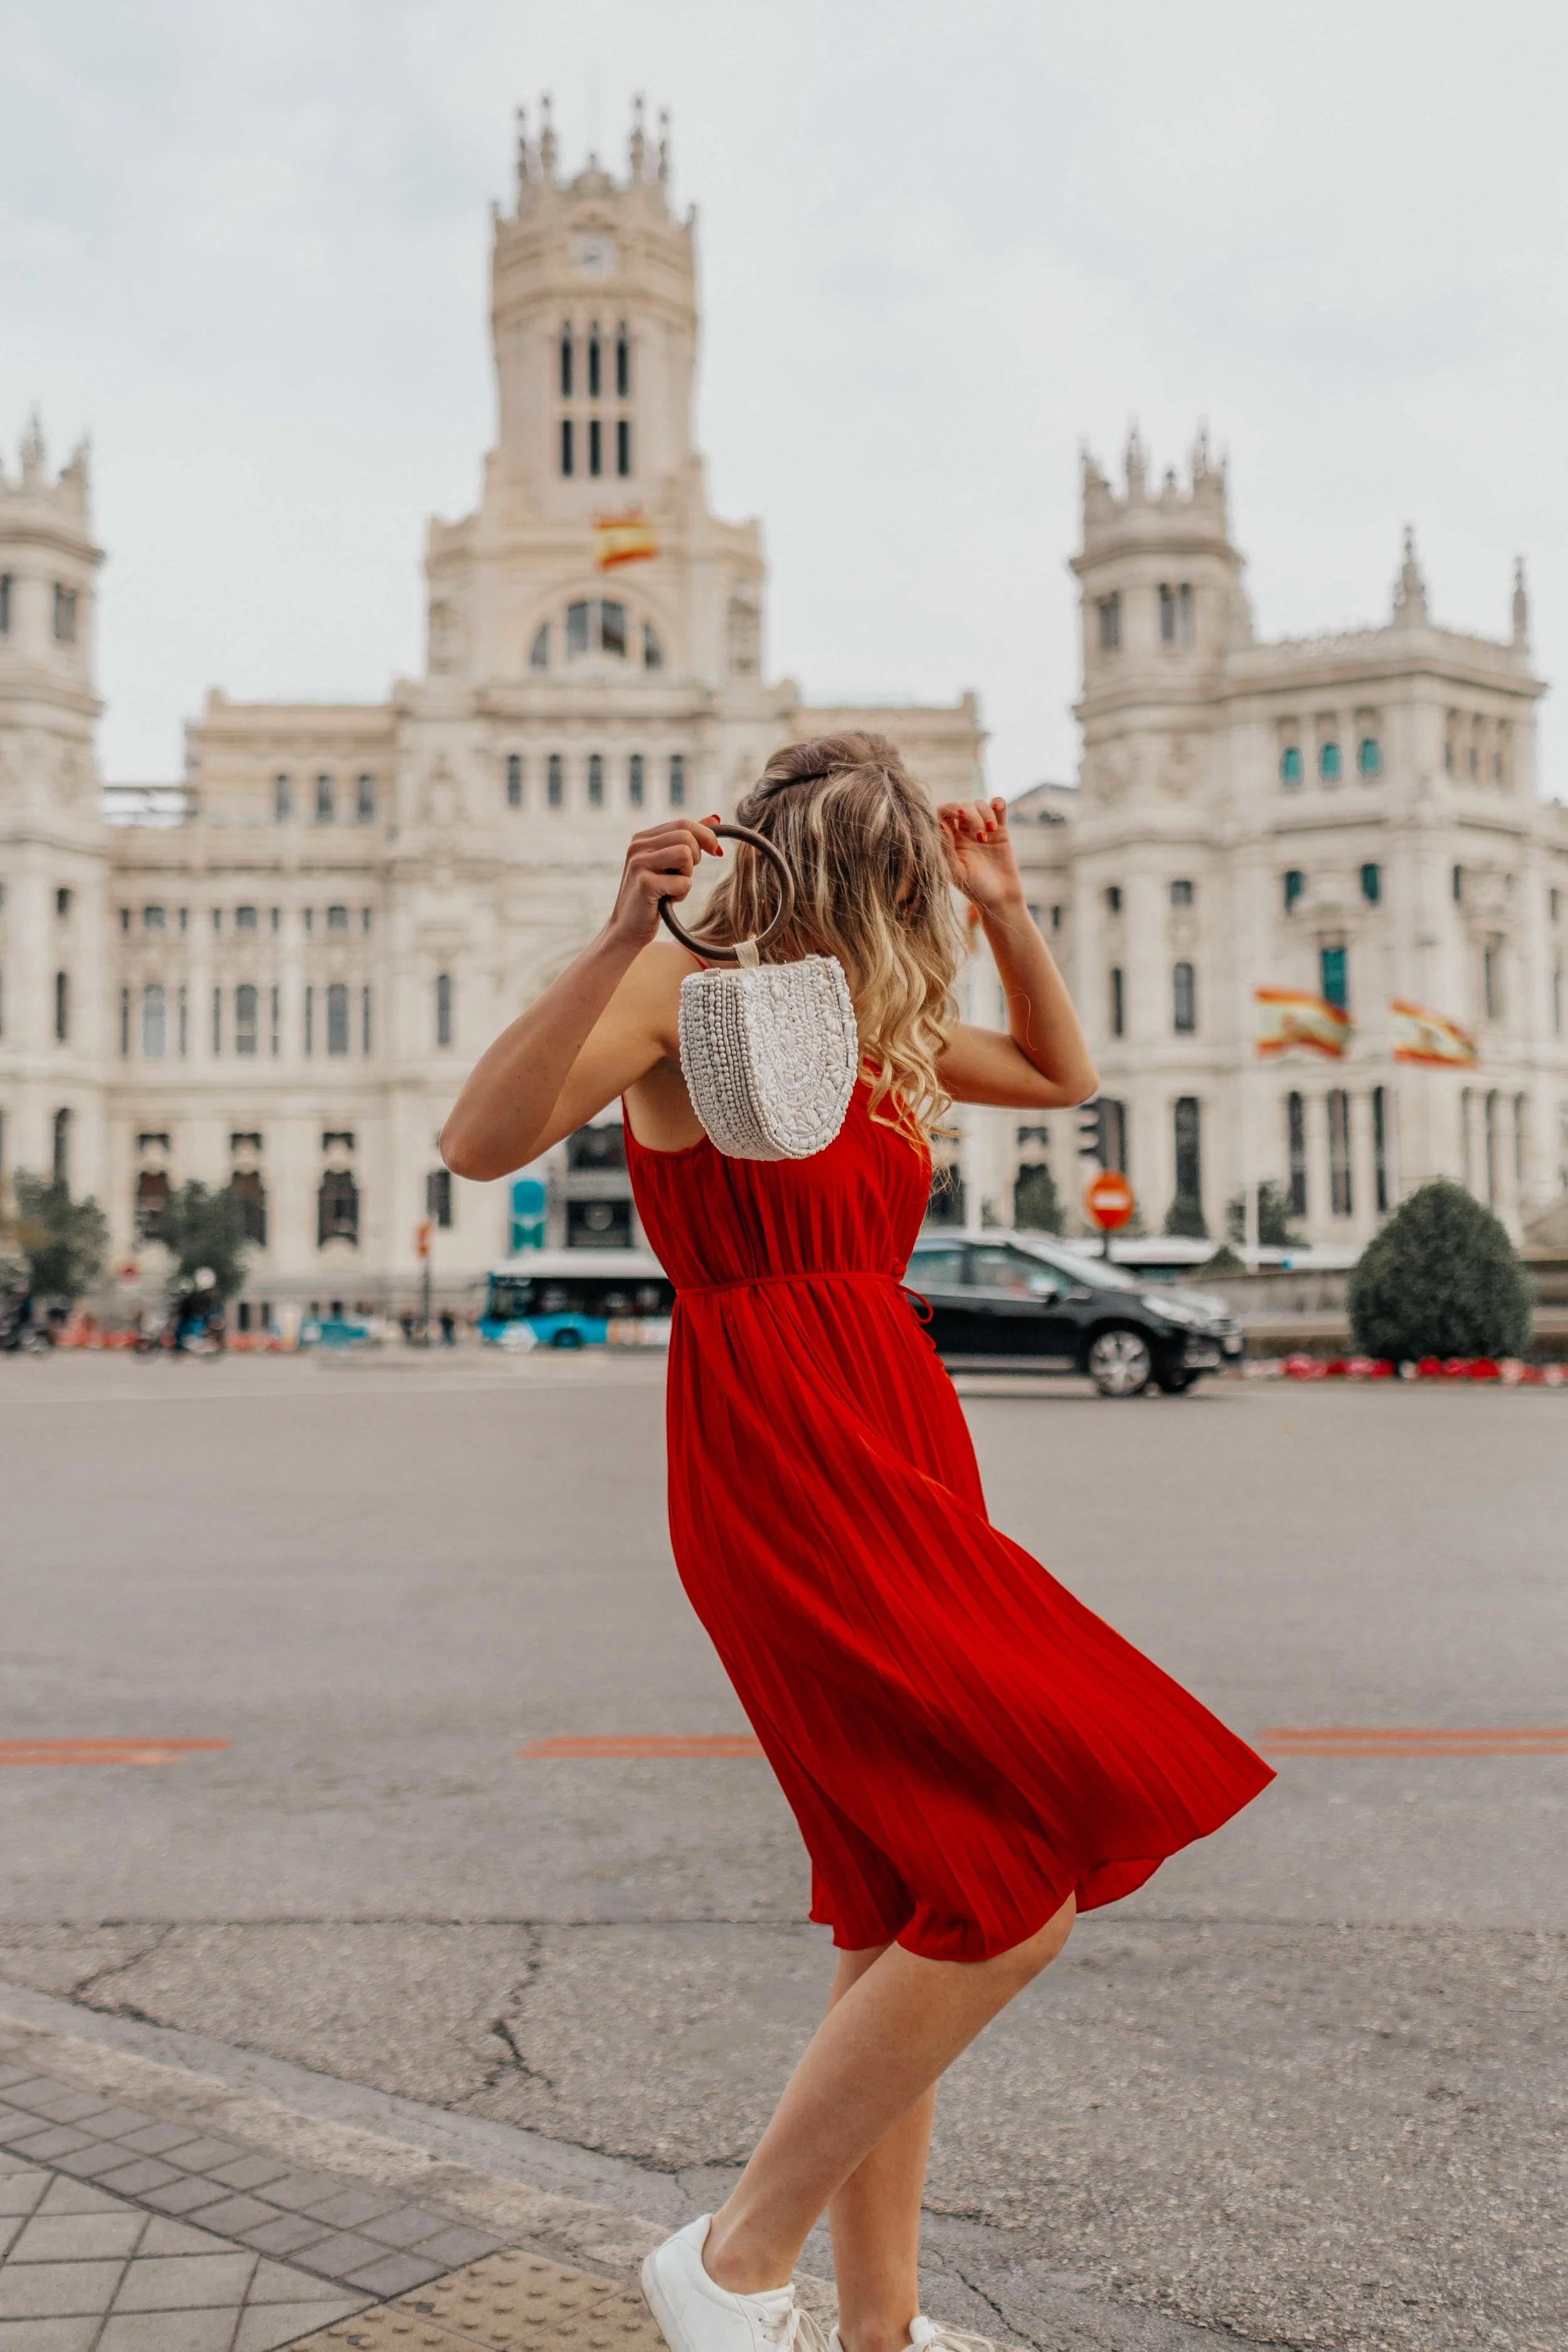
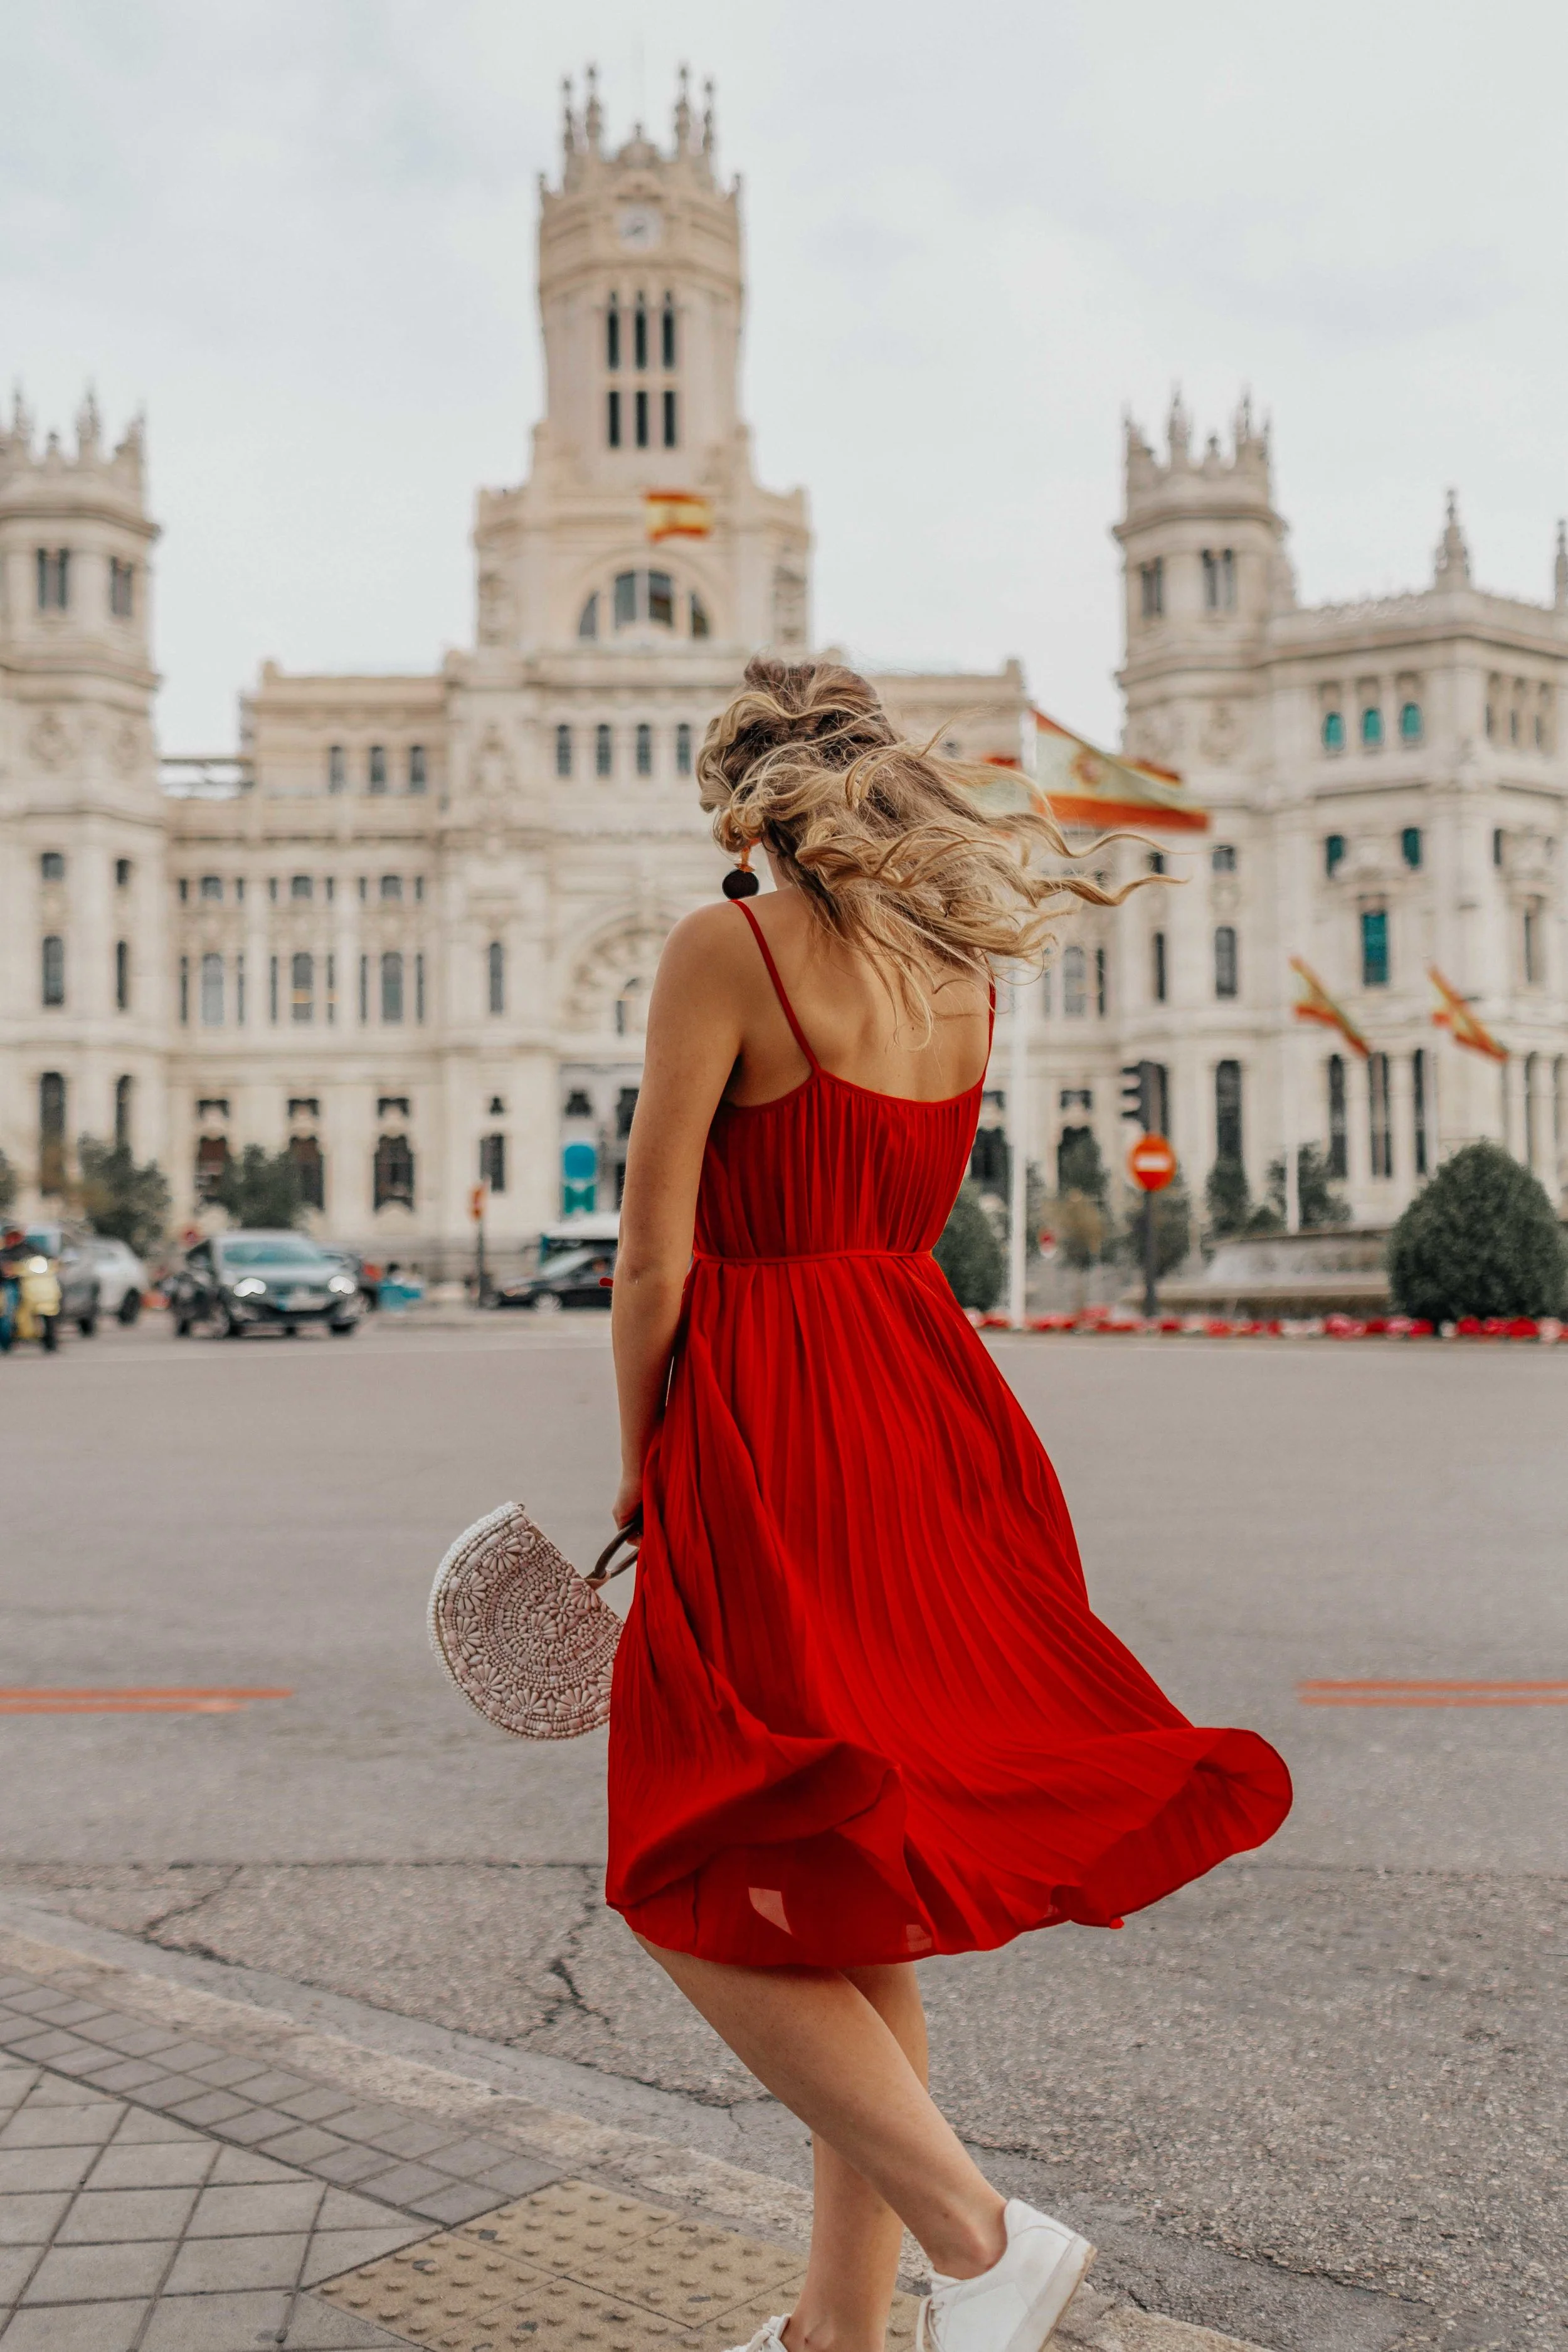
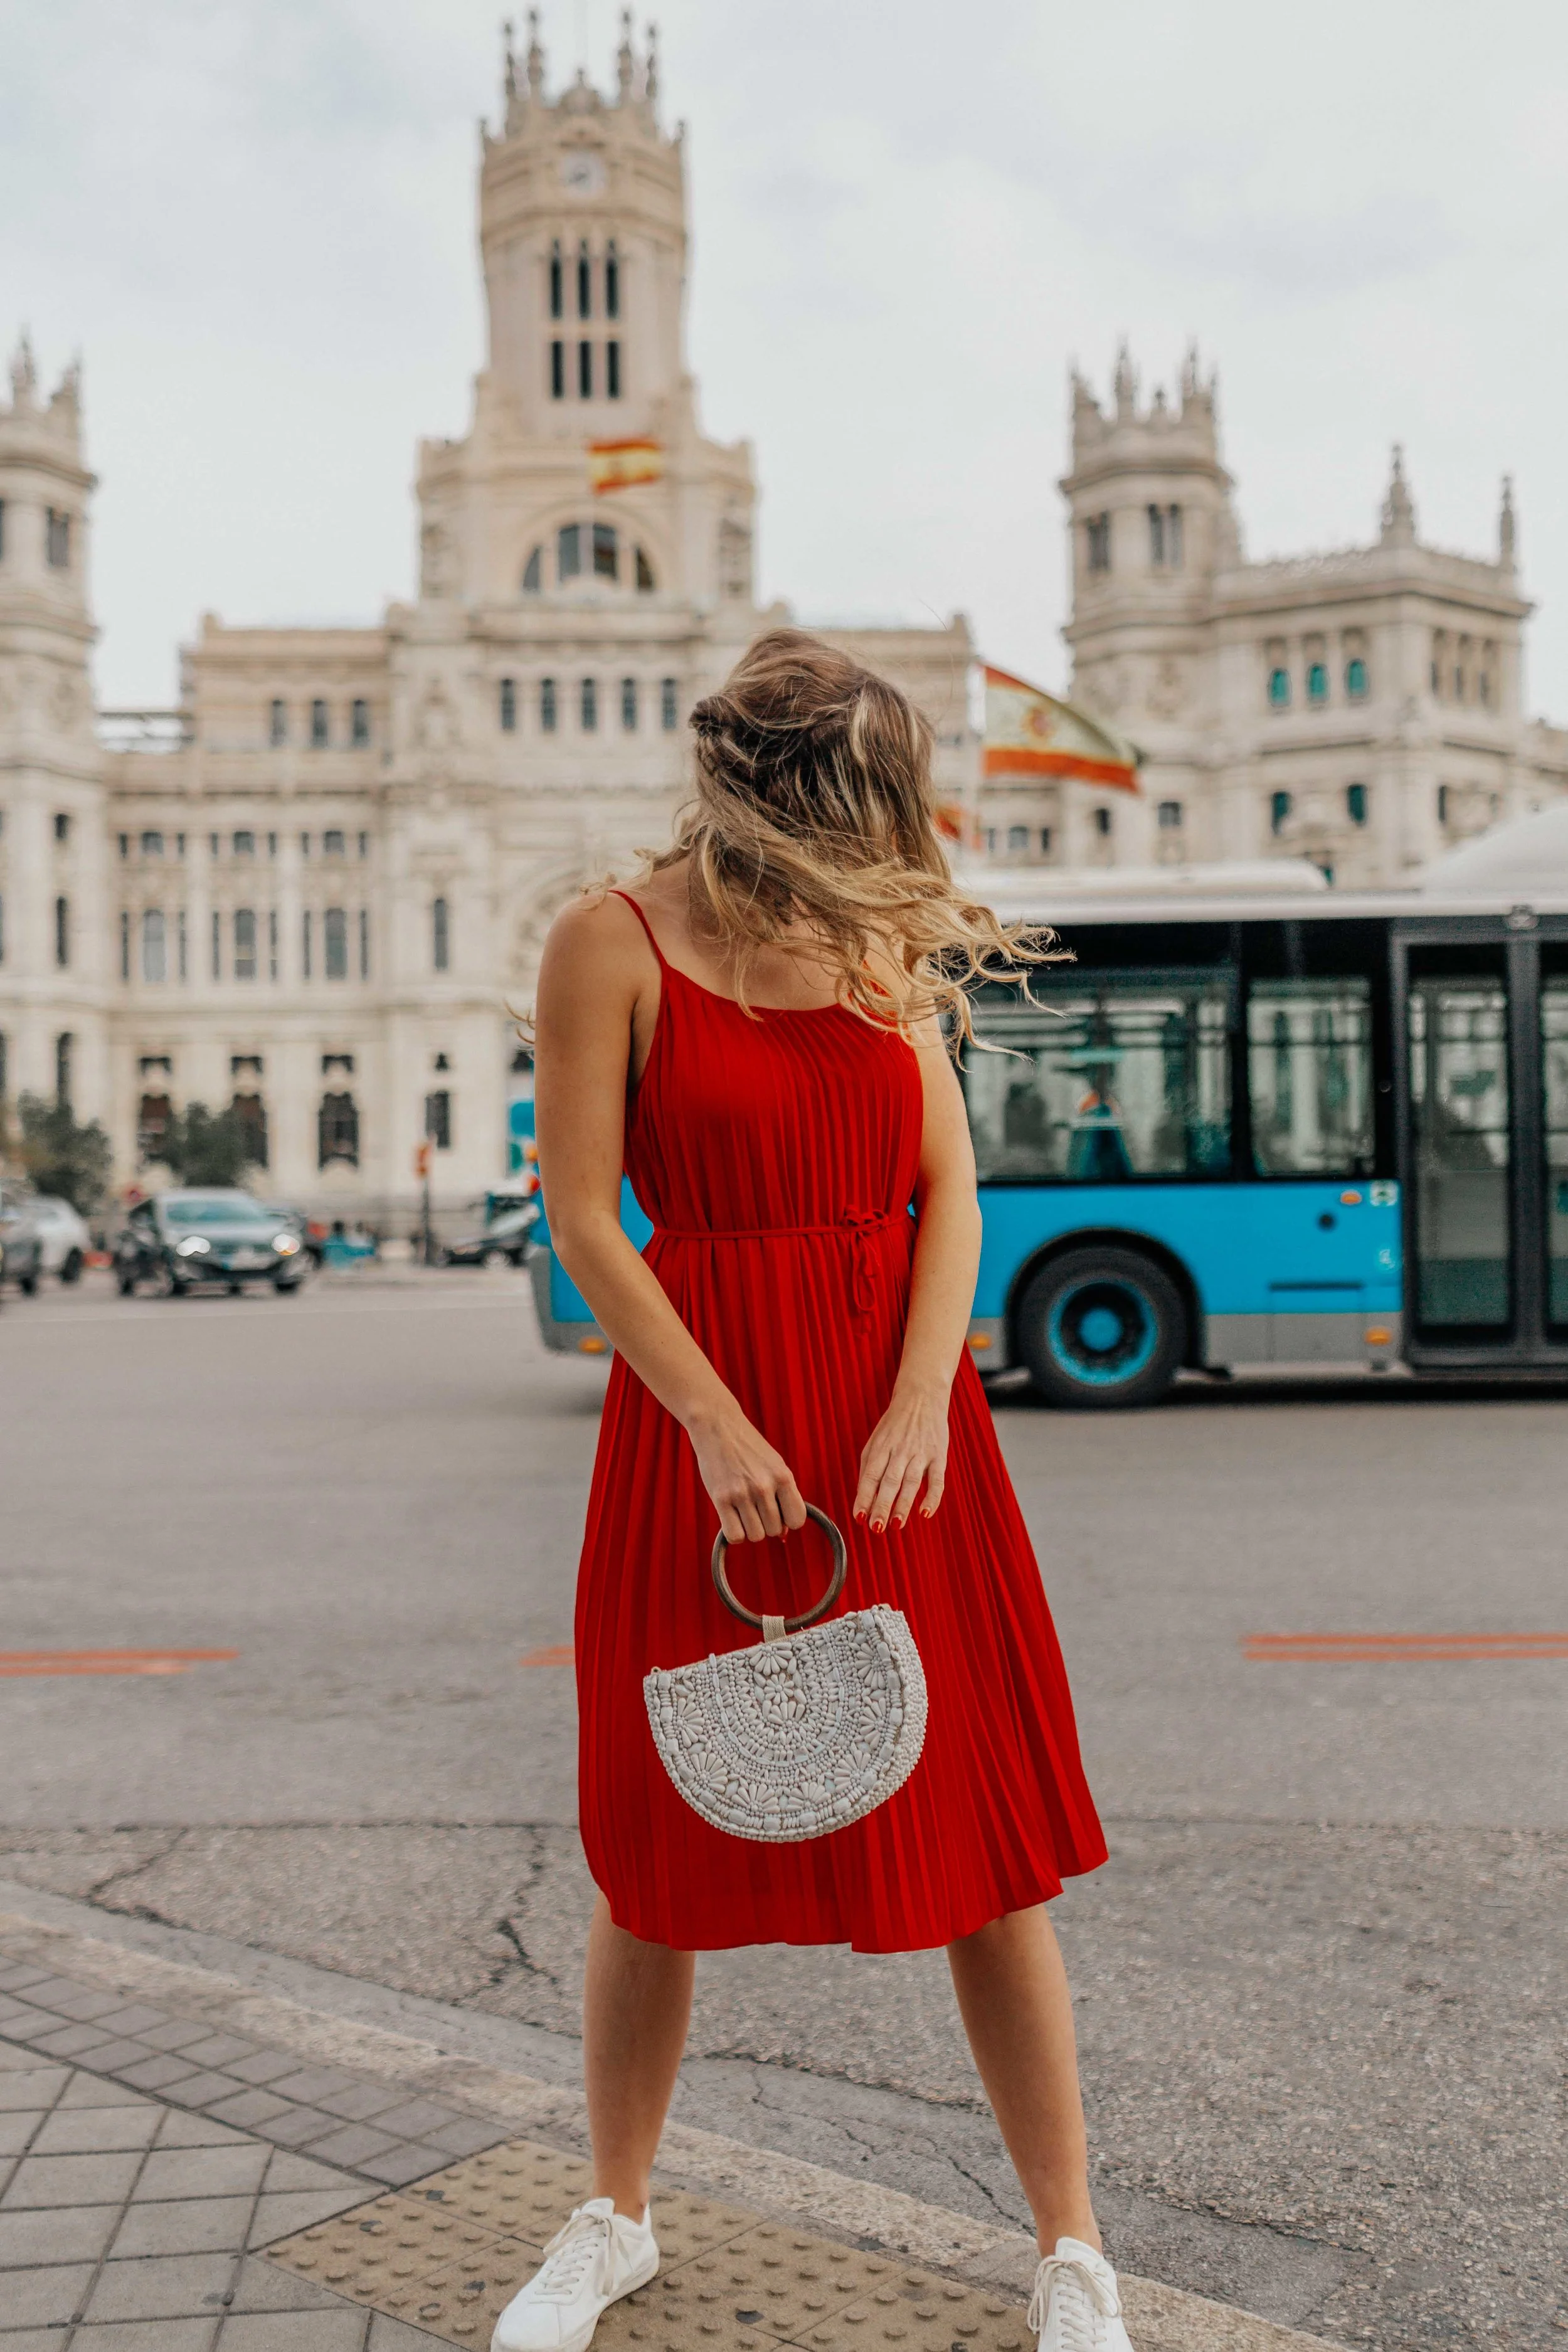
Below, I’ve included a set of photos that my cousin and I recently took during our Europe trip: I’m including the camera settings used below so that you can get a better idea of why using manual camera settings can offer much more consistency among a photo set (and understand photography basics a little better for factors such as shooting environment and lighting).
Aperture: f/2.5; with a relatively low f-stop (f/1.4 is the lowest that my lens is capable of), my cousin and I were able to achieve a bit of a blurry background, while still retaining enough detail in the building and flags behind me.
ISO: 100; this is what I always set my ISO at if I’m shooting in optimal lighting (i.e. bright light/outdoors). The lower your ISO, the sharper your images will be. If it were getting darker outside (maybe 5 or 6 p.m.), I might have to start bumping my ISO up a bit— somewhere around 200-300 ISO should work fine unless the sun has already set.
Shutter Speed: 1/1200; because my cousin and I were shooting with a higher shutter speed, she was able to capture my movement (and it was a particularly windy day which added even more motion to the photos). If it was later in the evening/ getting darker outside, we would have had to shoot using a lower shutter speed. This would have made it more difficult to capture the motion that we were able to get with this set (unless we were using a tripod).
Final Notes/ My Rules:
To sum things up, I have a few rules I typically like to go by when shooting in manual mode.
I always keep my ISO at 100 if I’m shooting in the daytime. There really isn’t any need to bring that up more, unless it breaks the following rule…
I don’t like to bring the shutter less than 1/250, if possible. This is to eliminate movement blur in my photography. In my personal style, I like for my photos to look a bit like a movie still, so I don’t like movement blur in my imagery (but there are certain shooting environments where I will break this rule, like in the photo set that I included as an example above).
Camera Settings Cheatsheet:
Below, I’ve included a basic camera settings cheatsheet— feel free to save this for later and use it to help you understand manual mode camera settings a little better!
And that about sums it up for my beginners guide to shooting in manual. I hope that this has maybe inspired you to try shooting in manual mode if you haven’t yet. If you’re too nervous to shoot manual for the first time with a model or for client work, then just go out with your friends and take some photos of them. Try shooting manual the whole day… I promise that it isn’t as scary as you think. The minute I invested in the camera that I have now, I immediately changed the setting to manual. I had no idea what I was doing, but I knew that I would figure it out along the way (with the help of a few YouTube videos). That has made me a MUCH stronger photographer over the past year, and I highly encourage you to do the same.
I hope this little guide has been helpful for you. Please drop a comment below if you have any questions for me!
If you liked this post, you may be interested in: Best Photo Editing Apps for iPhone & Android
Hi there! I’m Fallon. A Florida native who, after receiving my masters degree in the U.K., decided to nix the 9-5 path in search of something more. Now, I run my graphic and web design business straight from my laptop, all while traveling the world. I’ve now traveled to over 25 countries and have knocked some pretty big adventures off my bucket list… and I’m just getting started. Follow along my journey as I presets tips, guides and resources on solo female travel, photography, videography, entrepreneurship & the crazy lifestyle of a digital nomad.


