How to Remove the Background from an Image in Canva (no Photoshop required!)
Disclaimer: Hey there, friend! This article includes affiliate links & I would LOVE if you decided to use them. Affiliate links + referral programs help creators and educators like me to fund the free content that we provide on our blogs. Thank you for your endless support!
If you’ve ever attempted to remove the background from an image in Photoshop, Word or Powerpoint… then you already know it’s not exactly a “straightforward” process.
And the scene usually ends with you pulling your hair out because you just spent hours trying to get it right, and it still somehow looks like the #HotMessExpress. (been there).
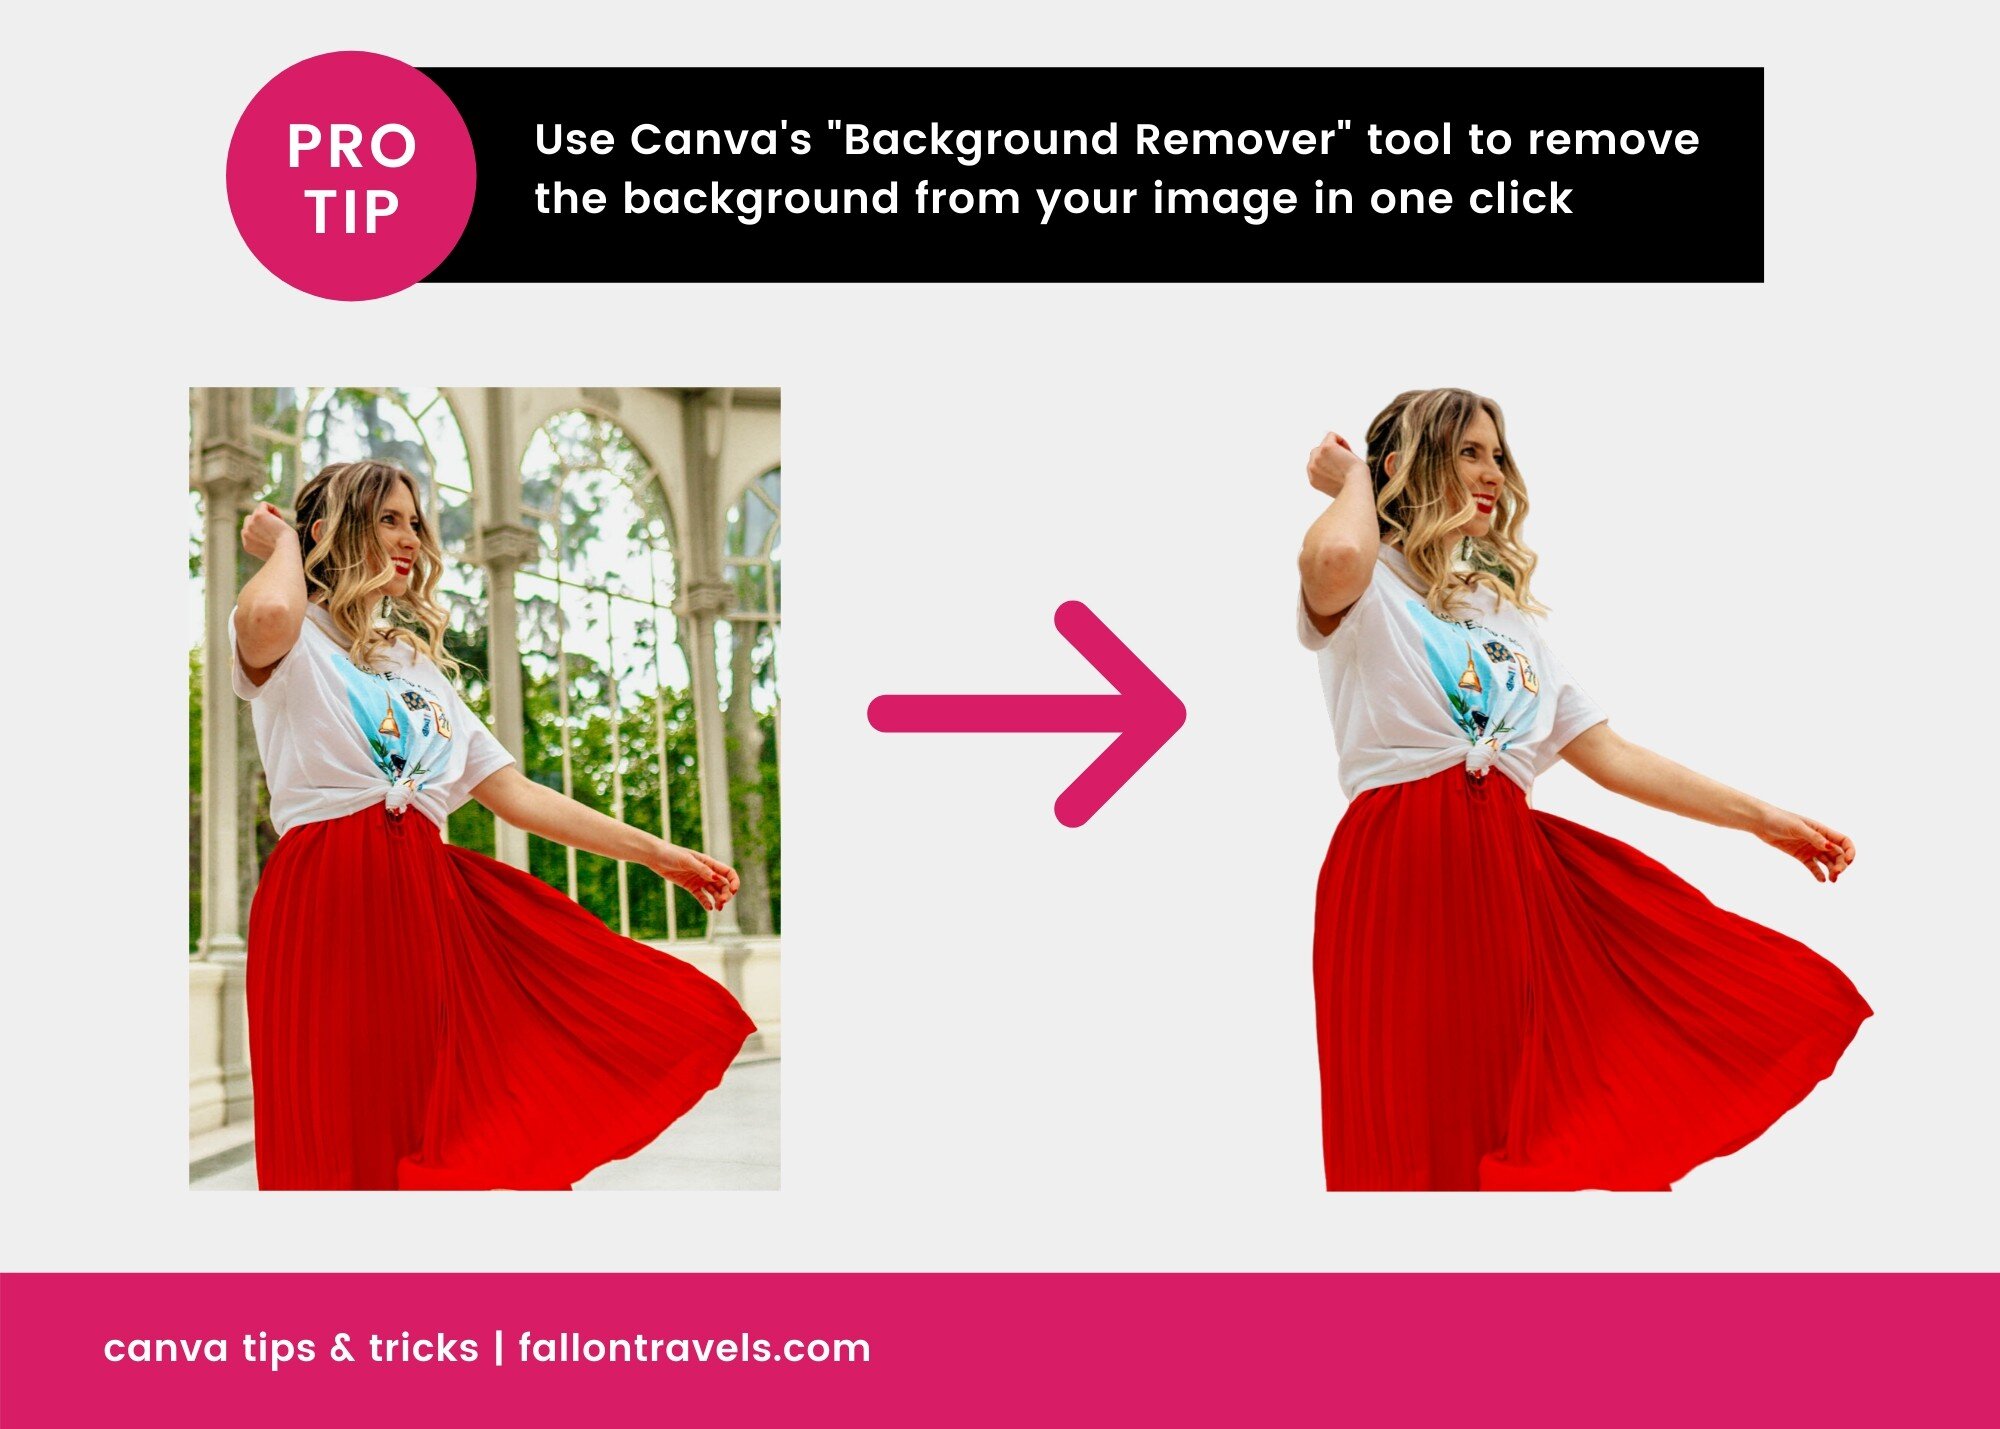
But good news— Canva Pro just swooped in & saved the day with a ONE-click solution to background image removal.
Yep— you heard that right.
So in this super brief tutorial, I’ll be showing you how to remove the background from an image in Canva quickly AND easily— no Photoshop required.
Cool beans?
Just a heads up... you do need to be signed up with a Canva Pro (previously Canva for Work) plan, because this feature unfortunately isn’t available in the free plan.
But if you’re on the fence about Canva Pro… just know that the $9.95/month you’ll spend for premium Canva features is a very tiny price to pay for everything you get in return.
With that being said— always try before you buy!
Click that blue image below & you’ll get access to Canva Pro features for 30 days, completely free. :)

Alrighty, enough chit chat. Let’s do this thang.
1. Login to your Canva Pro account
Like I said before— just make sure you’re signed up with a Canva Pro account before you begin…
… because the background removal tool (the tool you need for this) sadly isn’t available in the free plan (sorry friend!).
2. Choose your template size
Once you’re in Canva, you can either start a new document, or just use one of your current design templates.
Feel free to use any size here— aspect ratio doesn’t matter.
You might just want to consider what you’ll actually end up using this for (i.e. a YouTube thumbnail/channel art, an IG post etc).
But I’m just going to start with something that’ll give us some bang for our buck (aka it’ll be easy to resize later):
Square format: 1200 x 1200px
3. Upload an image to Canva
Upload any image you’d like to remove the background of.
PS— the upload tab is on the left-hand side of your screen.
4. Add the image to your Canva template
Now click on the image you just uploaded…
…and it will be added to your template!
5. Use the Background Remover tool
Now, you can finally use that one-click tool I was telling you about (ok ok, it was really a few clicks).
Click the image you just added to your template
You’ll see a little tab pop up at the top of your editor that says, “Effects”— click that
You’ll then see, “Background Remover”— it should be the first option.
Click it, and your background will magically be erased in one-click. :)
6. Make any additional edits to your graphic
Woohoo! You can now start resizing/playing around your new little selfie (I guess that’s what you could call it? Idk).
You can add one of your brand colors to the background…
… you know, to make your graphic all fancy schmansy.

Or or or you could even be a total creepo like me…
… and put together a selfie collage that makes everyone think you’re a massive narcissist. :)
Don’t judge, I swear it only took me 10 minutes..
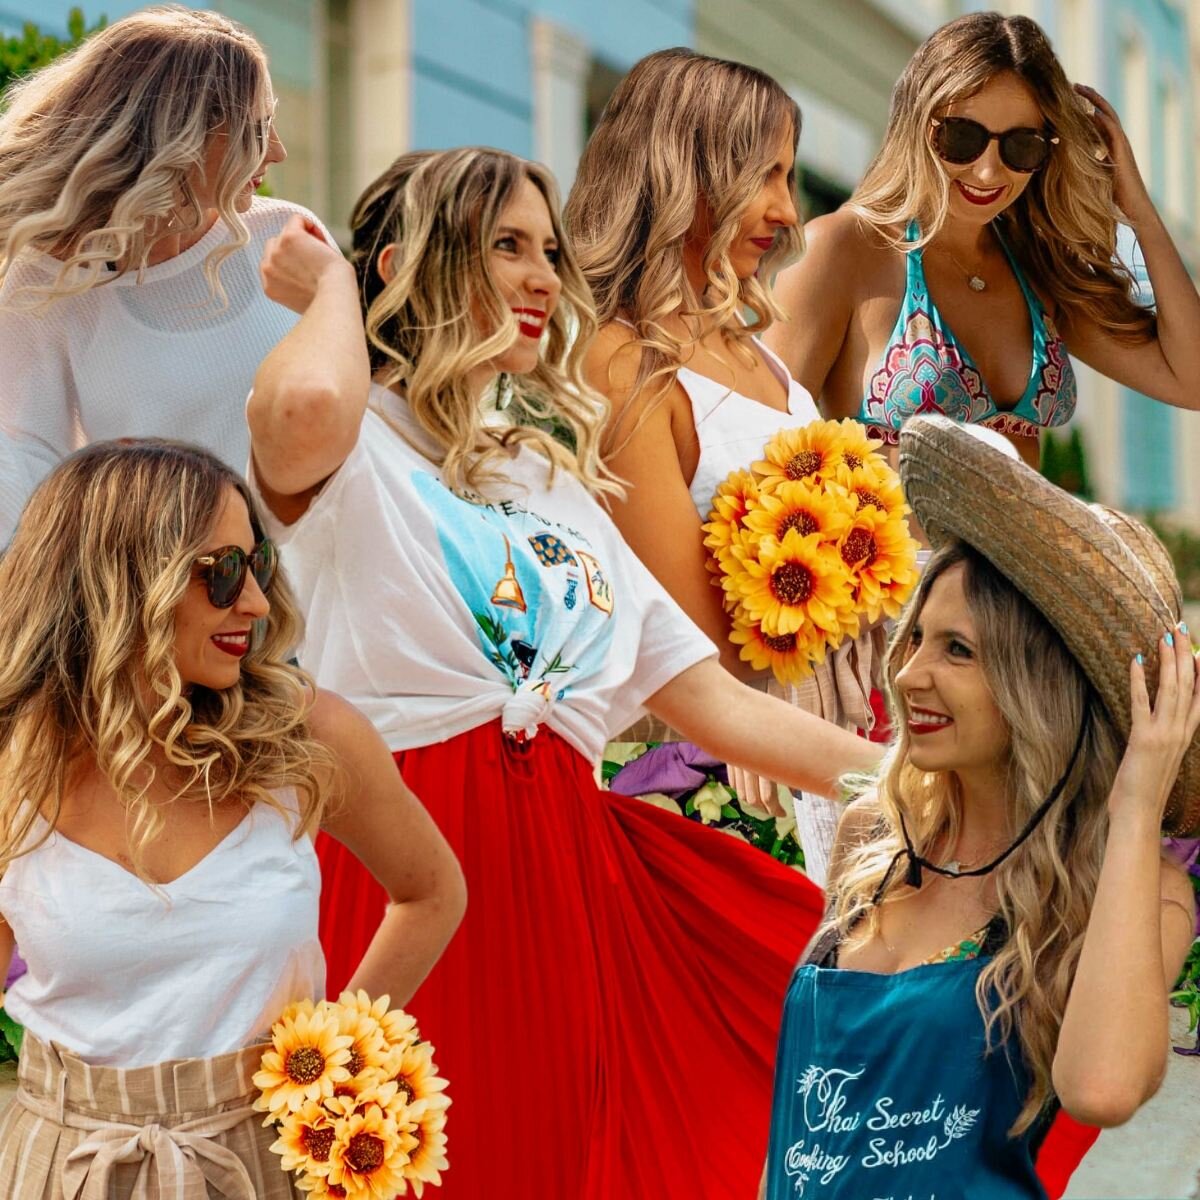
Well, I might have also created this one for my Canva tips & tricks blog post…
But that’s it— swear.
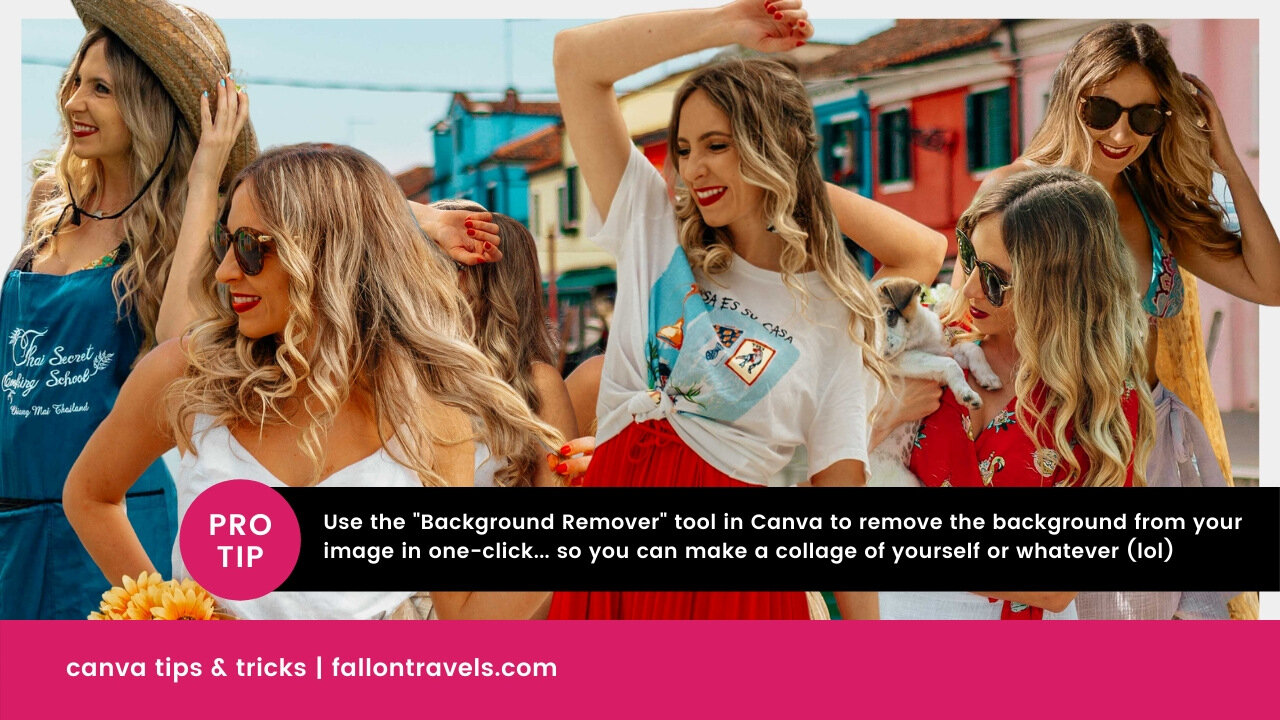
Imagine a world with multiple Fallon’s… #RunForYourLife
PS— am I smelling my underarm in that middle photo?! LMK.
Woohoo— you did the damn thing! How easy-peezy-lemon-squeezy was that?!
Drop a comment below & let me know how pumped you are to use this new one-click magic tool for, um— everything. :)
Aaaand feel free to send your beautiful creations my way— I can’t wait to see what you come up, friend!
Chat soon…
XO, Fal
You’ll also love…