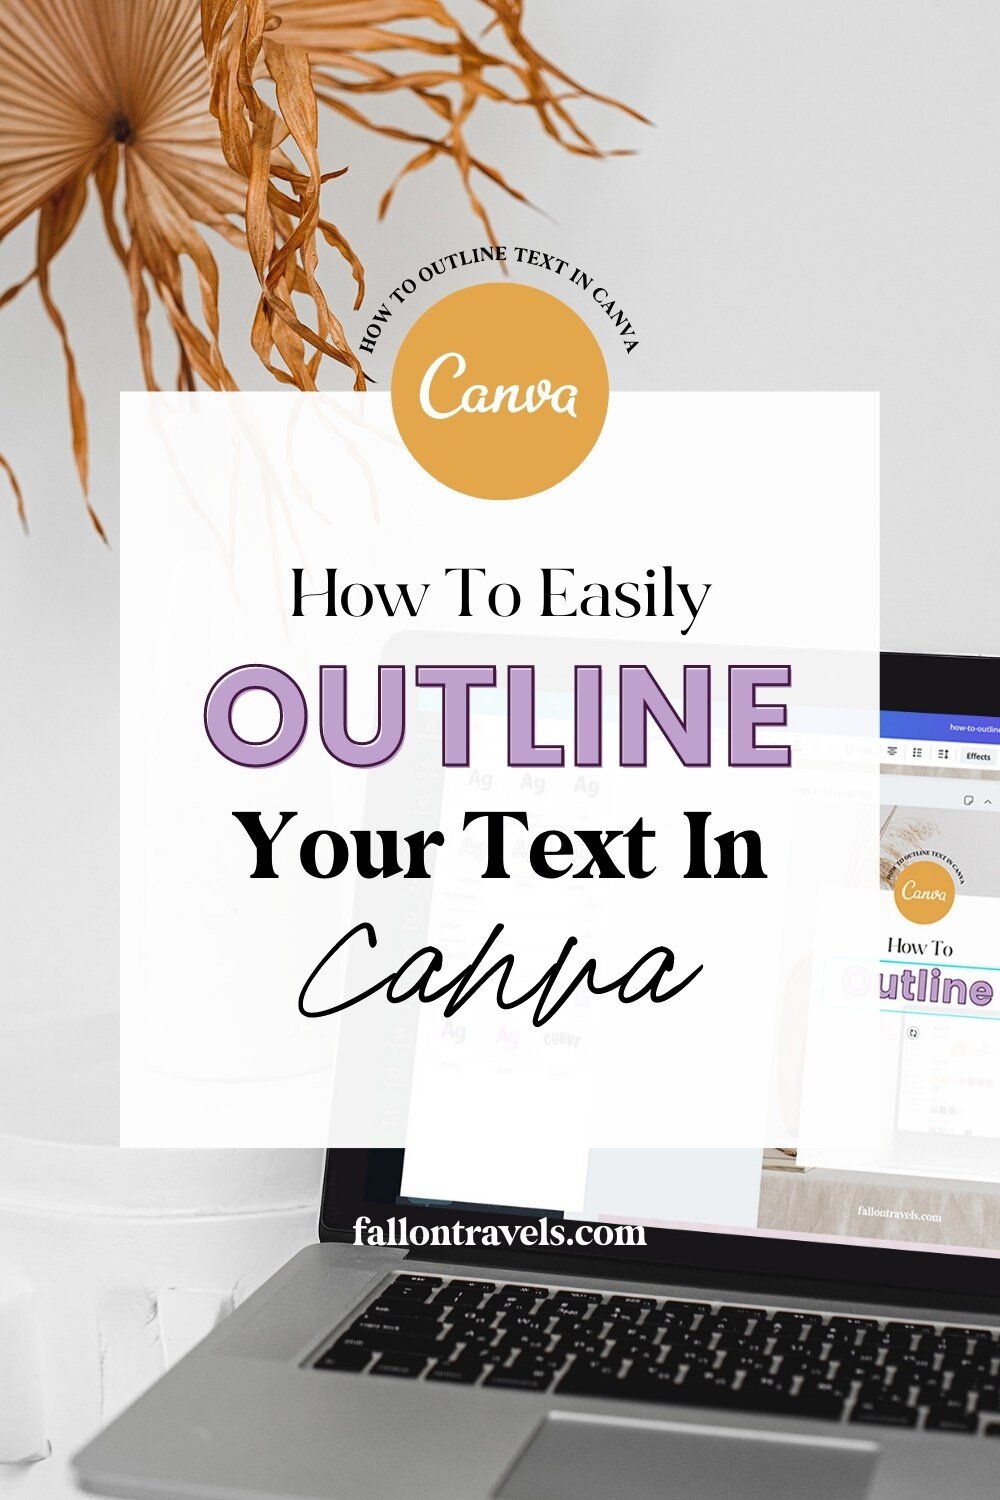
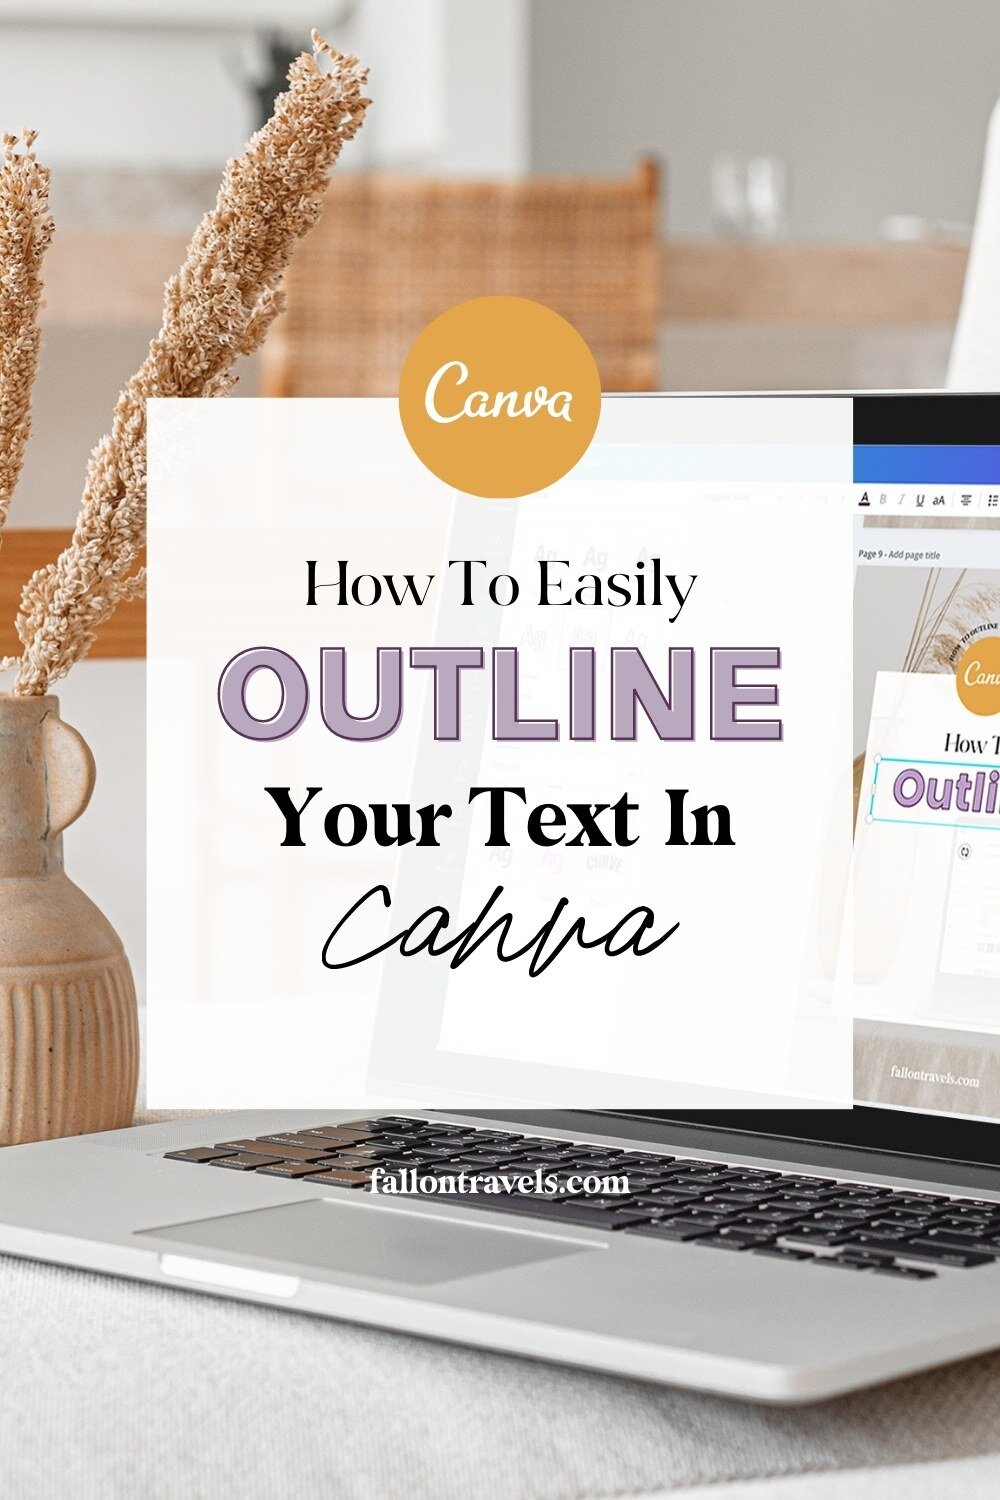
How to Outline Text in Canva (with just one-click!)
Disclaimer: Hey there, friend! This article includes affiliate links for Canva (a design tool I use, love & swear by) and I would love if you decided to use them. Affiliate links help creators like me to fund the free content that we provide on our blogs. Thank you for your endless support!
Struggling to figure out how so many online business owners achieve that beautiful outlined text effect for their logo and marketing graphics?
Well I have good news for you because in this tutorial, I’m going to show you how you can use one of the Canva text effects (which is available for both the free version of Canva and Canva Pro!) to easily outline your text in minutes to use for brand logos, social media posts or any other design graphics.
If you’re ready to level up your design skills, then read along to learn how to use this time-saving Canva text feature.
Let’s get started!
Getting Started in Canva
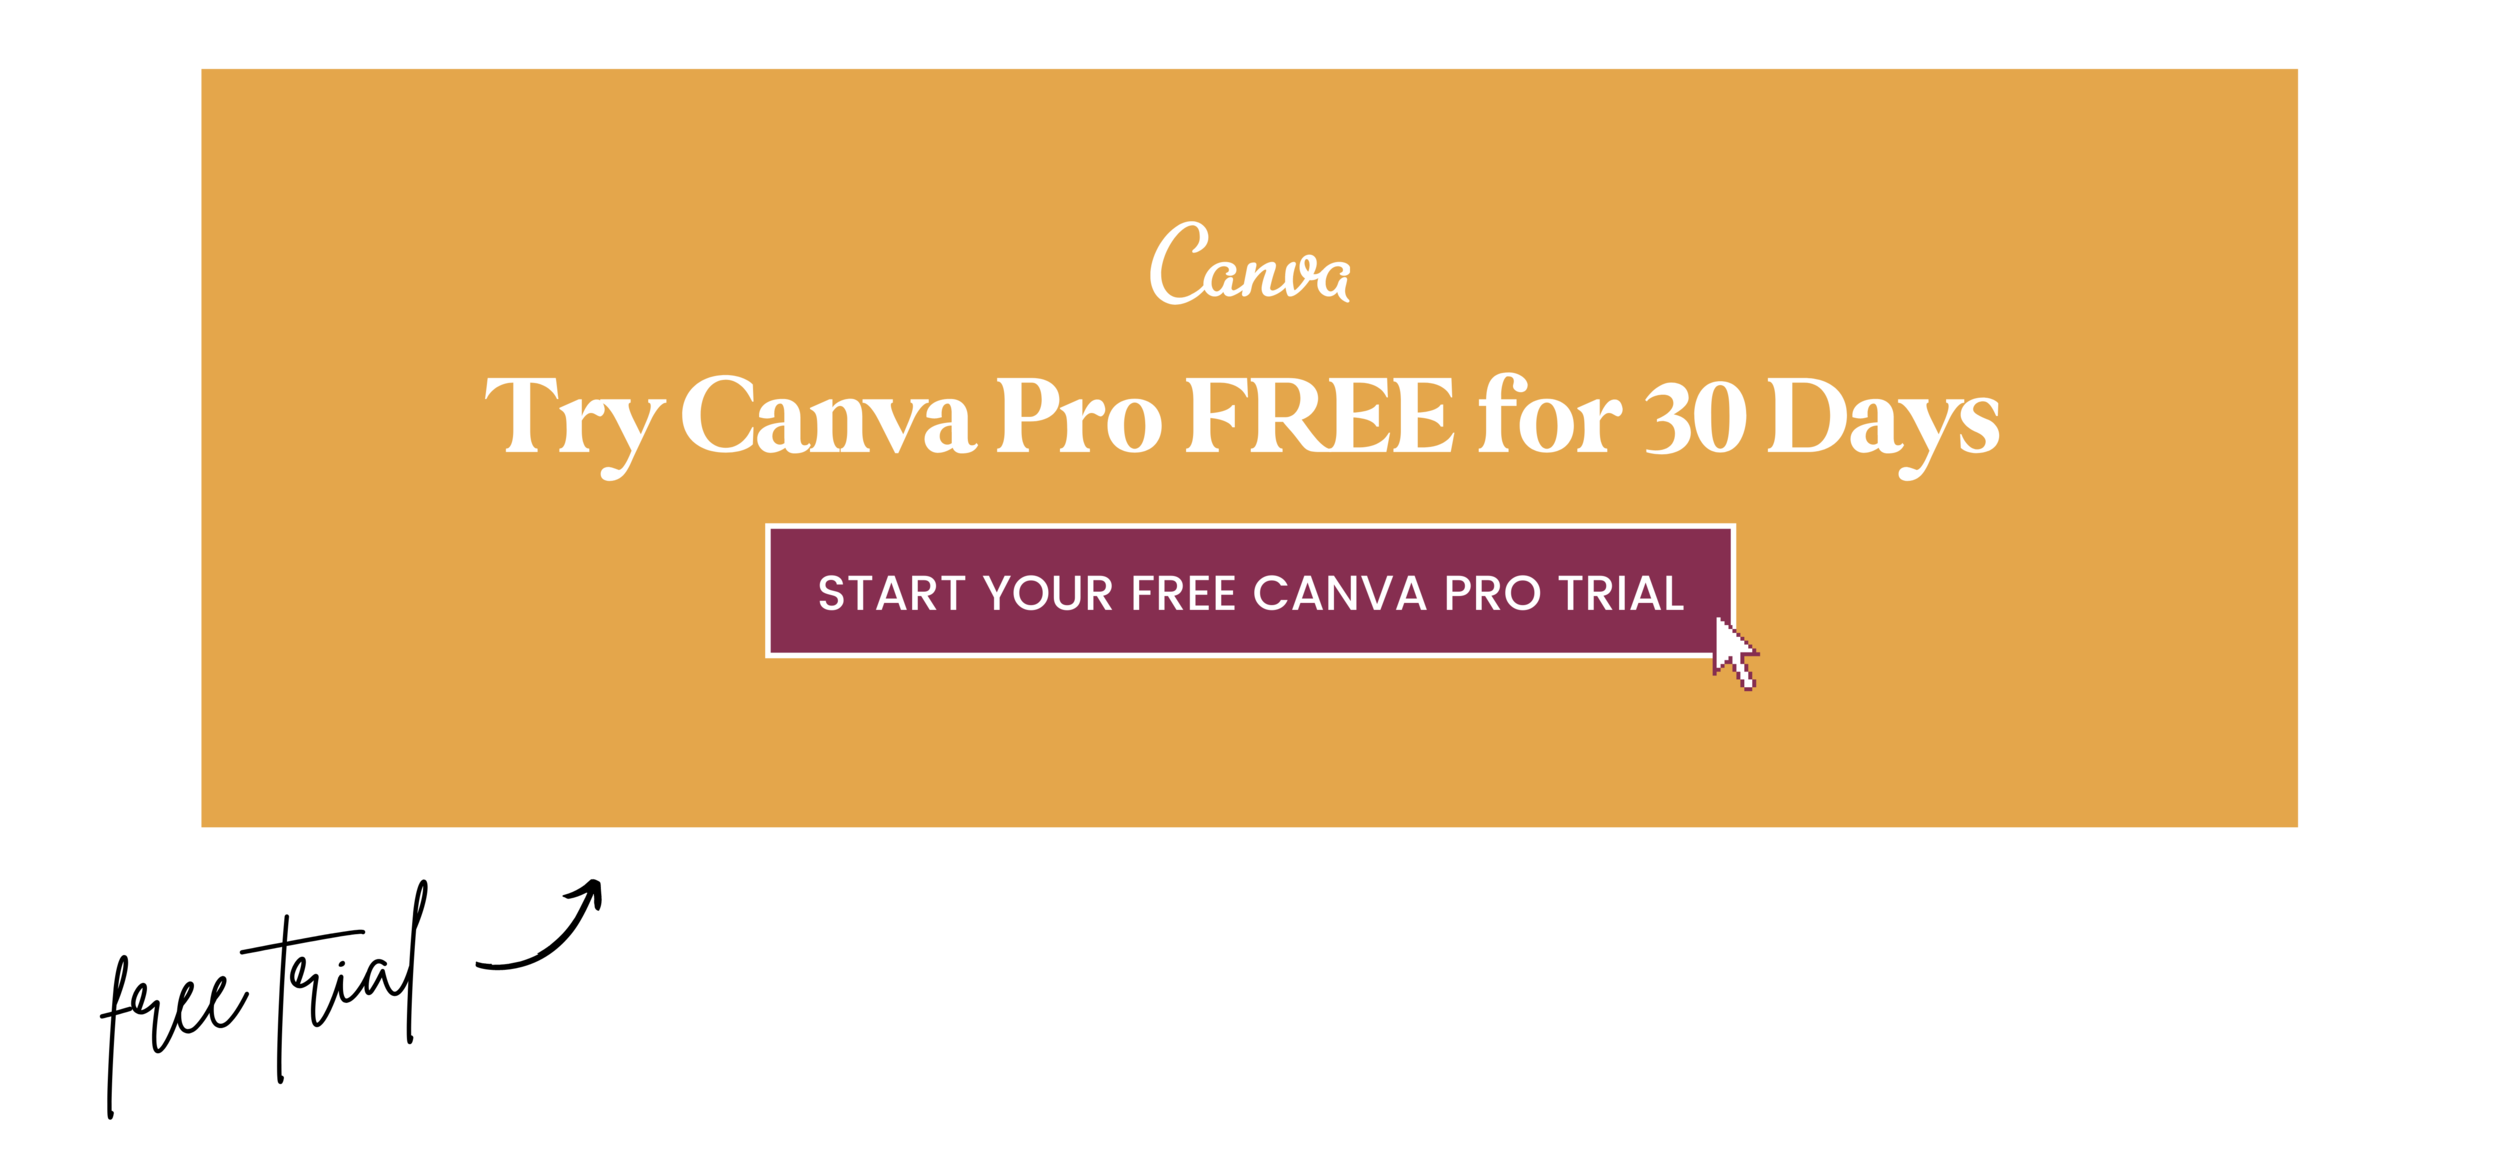
If you don’t have one already, make sure to sign up for a Canva account. You can create amazing designs with the free version, but I personally recommend opting for Canva Pro if you plan on batch creating marketing graphics for your social media account, blog or website.
It’s incredibly affordable and you get unlimited access to premium stock photos, fonts, graphics and other design features. And if you click that image below, you can take Canva Pro for a spin, completely free for 30 days!
1. Create Your Design
Go to your Canva home page and click ‘Create a design’.
For this particular example, it doesn’t matter which dimensions you choose. You can either create a new post or select an existing graphic.
I’m using one of my Pin templates (1000x1500px) for this post because that’s what I typically use the Outline text effect for.
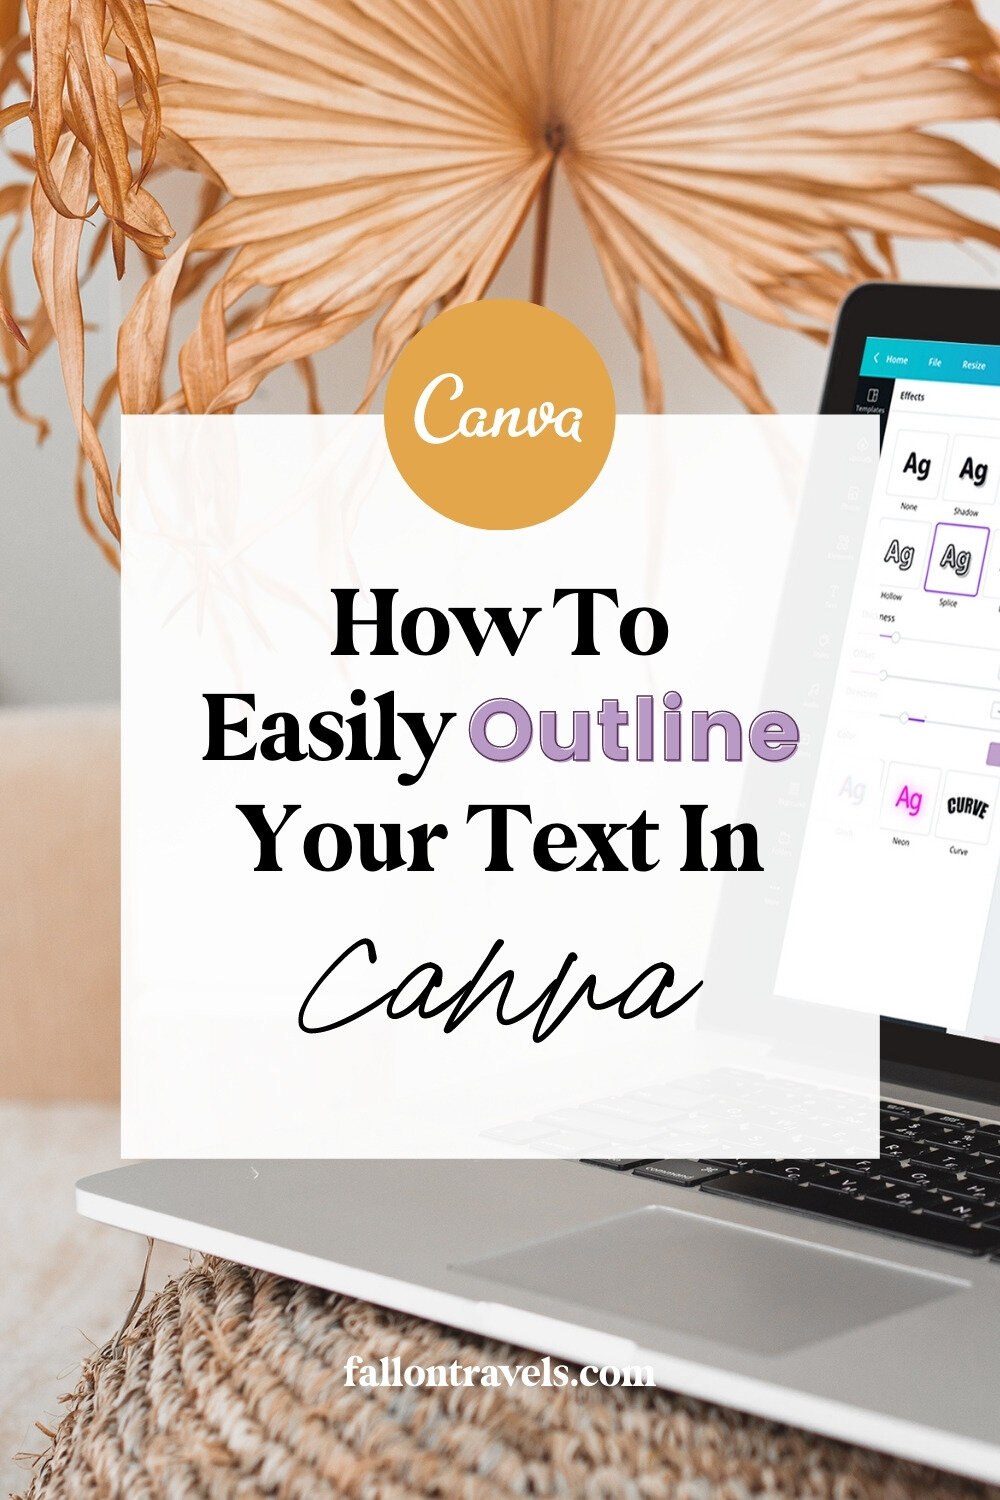
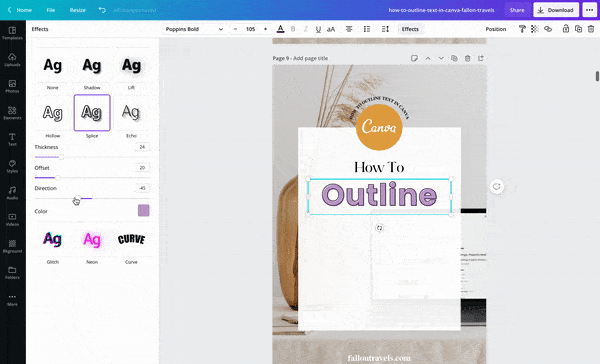
2. Apply Splice Outline Text Effect
Click the “Effects” feature in your Canva toolbar.
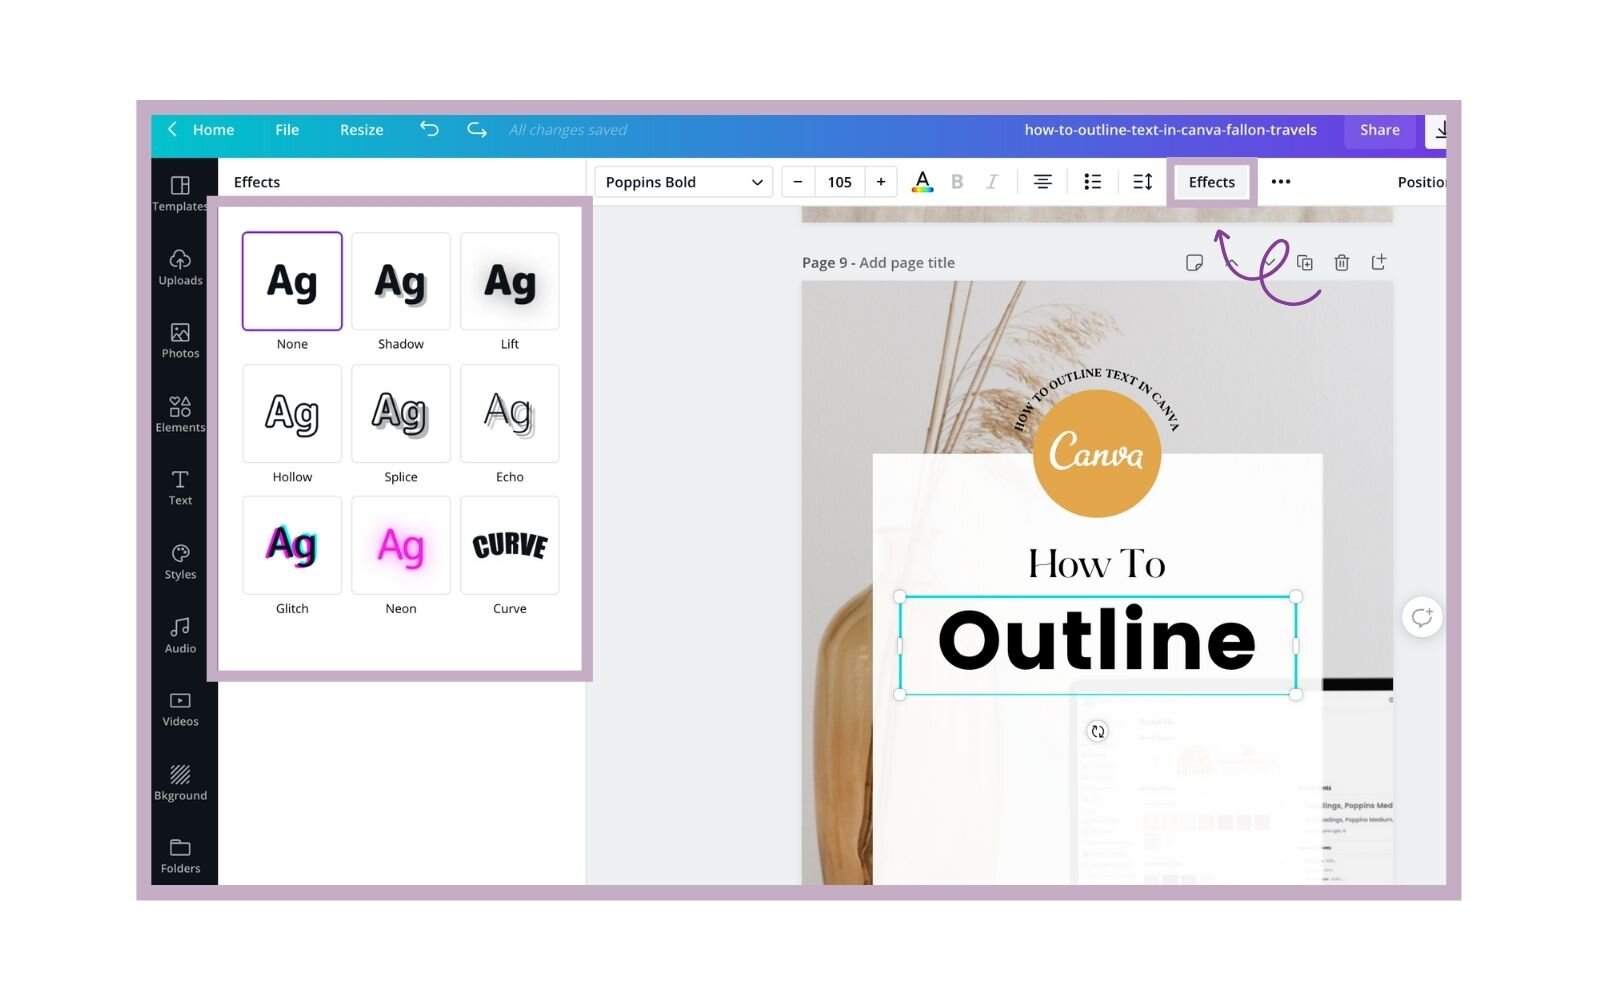
You will see an option that says “Splice” (it should be the 5th option in the Effects panel). Click this and your text will now have an outlined style using Canva’s default adjustment settings (more on this below).
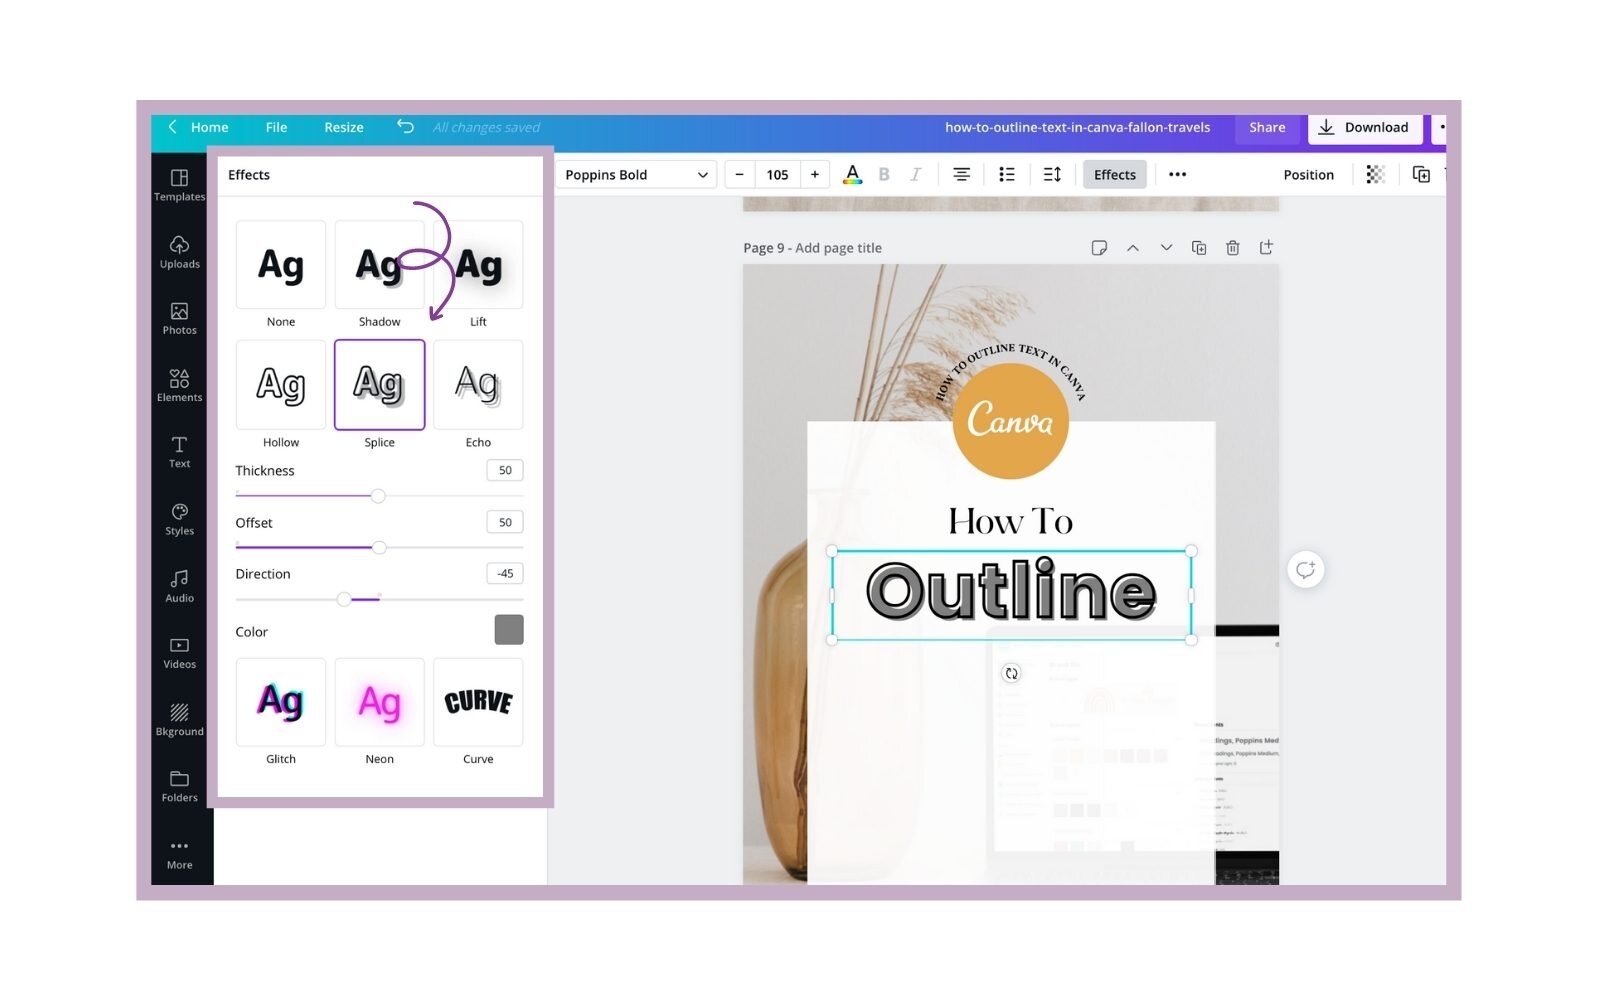
3. Make Adjustments to Your Outlined Text
You can now make any adjustments to your outlined text.
Change the Thickness of Your outlined Text
The thickness setting is set to 50 by default.
Drag the slider all the way to the left (0) for a thin text outline
Drag the slider all the way to the right (100) for a thick text outline

Change the Offset of Your Outlined Text
The offset setting is set to 50 by default.
Drag the slider all the way to the left (0) for a standard ‘Outline’ effect (meaning no offset)
Drag the slider to the right (100) for a full offset of your outlined text effect
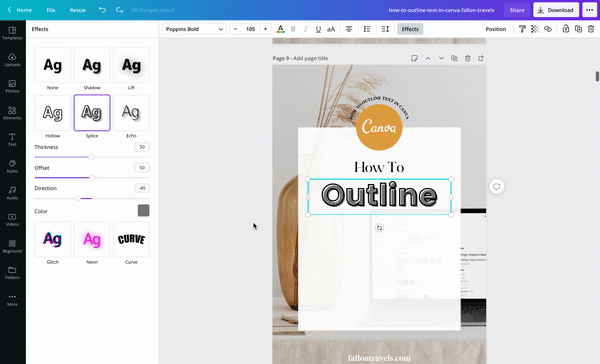
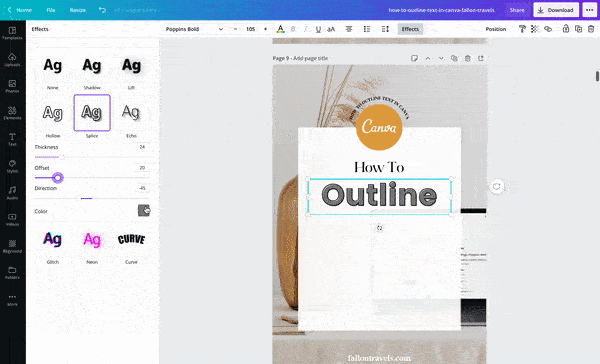
In past design work, I’ve kept the offset around the default setting. Recently, though— I’ve been lowering the offset to around 10-25. This will of course depend on your design style & preference!
Change the Color of Your Outlined Text
Make sure to change the color of your text from the default grey & black to whatever your brand colors are.
Inside Color of Outlined Text: You will need to use the color button for the ‘Splice’ feature to change the inside color of your text
Outline Text Color: You will need to use the standard text color button (in your Canva editor) to adjust the outline of your text
I recommend using a lighter color for the inside of your text, and a darker variation of that color for the outline.
Change the Direction of Your Text Outline
The direction setting is set to -45 by default.
Although I typically keep the Direction set to default (-45), you are more than welcome to test this setting and see what works best for your particular design style.
Apply Any Additional Adjustments to Your Outline Text
Feel free to try out any additional adjustments for your Outlined text. I typically make adjustments to the following:
Uppercase: Test both uppercase & lowercase letters
Letter Spacing: Add letter spacing between your letters if needed (just try not to go overboard with this option)
And that’s it! You can now reformat your text, change your branding colors or fonts & play around with the adjustments until you feel satisfied with your design.
4. Export your design
If you want to export your text outline as a logo with a transparent background, you’ll need to be signed up for the Canva Pro plan.
If you’re already on Canva Pro, you’ll just need to make sure that you remove any background image/color from your design template before exporting, or set the current background color to white.
Click the Download (or Publish) option in the top right-hand corner of your editor (located next to the share button).
You’ll see a “File type” dropdown menu. Click the option that says “PNG”
Now make sure to check off “Transparent background”, otherwise the design will export with a white background
Click download, and your design will be ready to upload to your social media accounts, blog or wherever you plan on sharing it!
5. Save time with Canva Logo & Brand Board Templates
Want to make your branding & logo design workflow a breeze (without having to hire an expensive graphic designer)?
Then definitely check out my Logo & Brand Board Template Bundle for Canva!
You’ll get instant access to over 50+ ready-to-use logo graphics and brand board design templates that will empower you to create scroll-stopping designs for your online business in minutes, using Canva.
Canva is a free online design program that makes creating your own marketing graphics as simple as dragging-and-dropping your content in. All with zero graphic design knowledge.
Your time is valuable. Don’t waste endless hours trying to create brand & marketing graphics if it’s taking up time you could be spending on more important matters (like spending time with your family!).
If you enjoyed this, share the love!
I hope you love the Outline Text feature as much as I do!
Have any questions about outlining your text in Canva? Let me know in the comments below.
If you found this information helpful, feel free to save it for later by pinning any image in this article to one of your boards on Pinterest!