How to Create a QR Code in Canva
Disclaimer: Hey there, friend! This article includes affiliate links for Canva (a design tool I use, love & swear by) and I would love if you decided to use them. Affiliate links help creators like me to fund the free content that we provide on our blogs. Thank you for your endless support!
Did you know that you can create custom QR codes easily using Canva?
*I mean, is there anything Canva can’t do these days?
Yes, it’s true! Thanks to Canva (along with the tips included in this post), you can easily add a QR code to your graphics in just a few clicks.
QR codes are an incredibly useful tool for online business owners. Use it to send over your audience to anywhere you’d like with a URL— it can be as simple as your website, a link to your social channels, your shop, or a video (webinar, workshop etc). The opportunities are endless!
In this post, I’m going to show you just how simple it is to add a QR code to any of your designs.
So if you’re ready to level up your Canva design skills, then read along to learn how to easily use the Canva QR code generator to level up your online business.
Let’s get to it!
Try Canva Pro free for 30 Days
If you don’t have one already, make sure you sign up for a Canva account. You can create amazing designs with the free version, but I personally recommend opting for Canva Pro if you’re an online business owner in need of beautiful graphics.
Canva Pro is incredibly affordable and you get unlimited access to over a million elements, premium fonts & stock photos, graphics, the ability to upload custom fonts and countless other design features. The cost is truly such a small price to pay for all that you get in return!
And if you click that little image below, you can take Canva Pro for a spin, completely free for 30 days!

Related: Canva Pro Review: Should you upgrade?
1. Create a Design
Before creating your QR code, you’ll need to go to Canva.com and select > Create a design.
Here you can select any size post (or choose from a design you’ve already created).
Once you have your design ready, just follow these steps:
Go to the left-hand side of your Canva editor
Click the “Apps” tab— this is where you’ll find all the apps and integrations that Canva has to offer
Click “QR Code” towards the top of the Apps (you can also use the Search bar to find it)

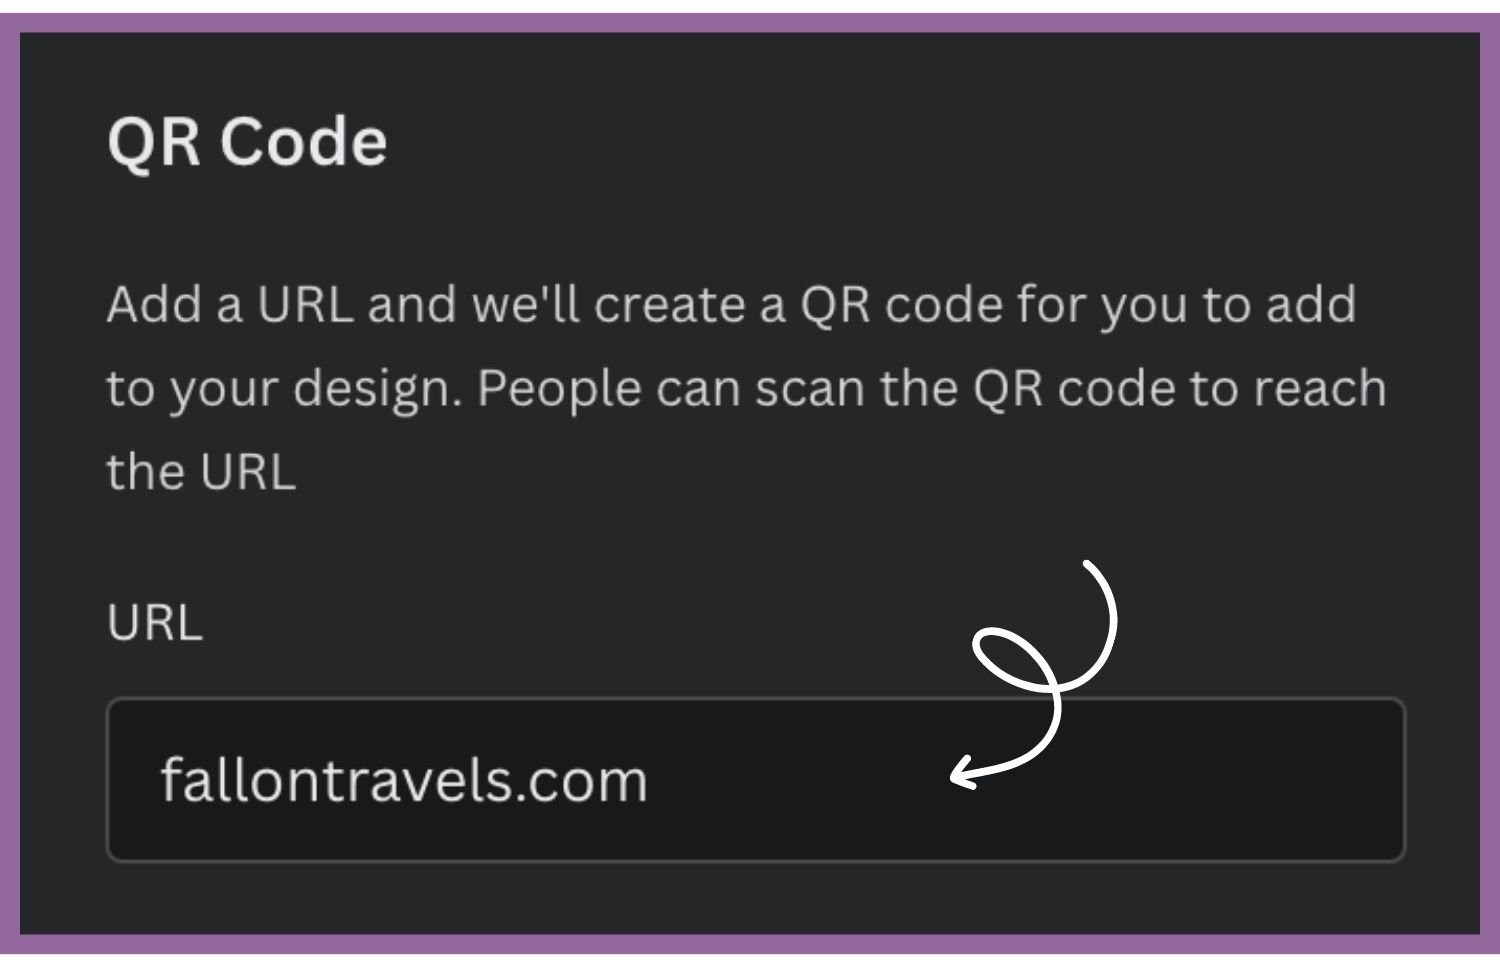
2. Enter the URL for QR Code
After clicking on QR Code, you’ll be asked to enter the URL that you want to send people to.
Here’s a few ideas for places you could send your audience to:
Business website
Instagram account
Sales page
Facebook page
Live webinar
Workshop
Other social media account (Pinterest etc)
3. Customize QR Code
Before adding it to your design, you can customize the following sections of your QR code:
Background color
Foreground color (the actual scanner part of the QR code)
Margin
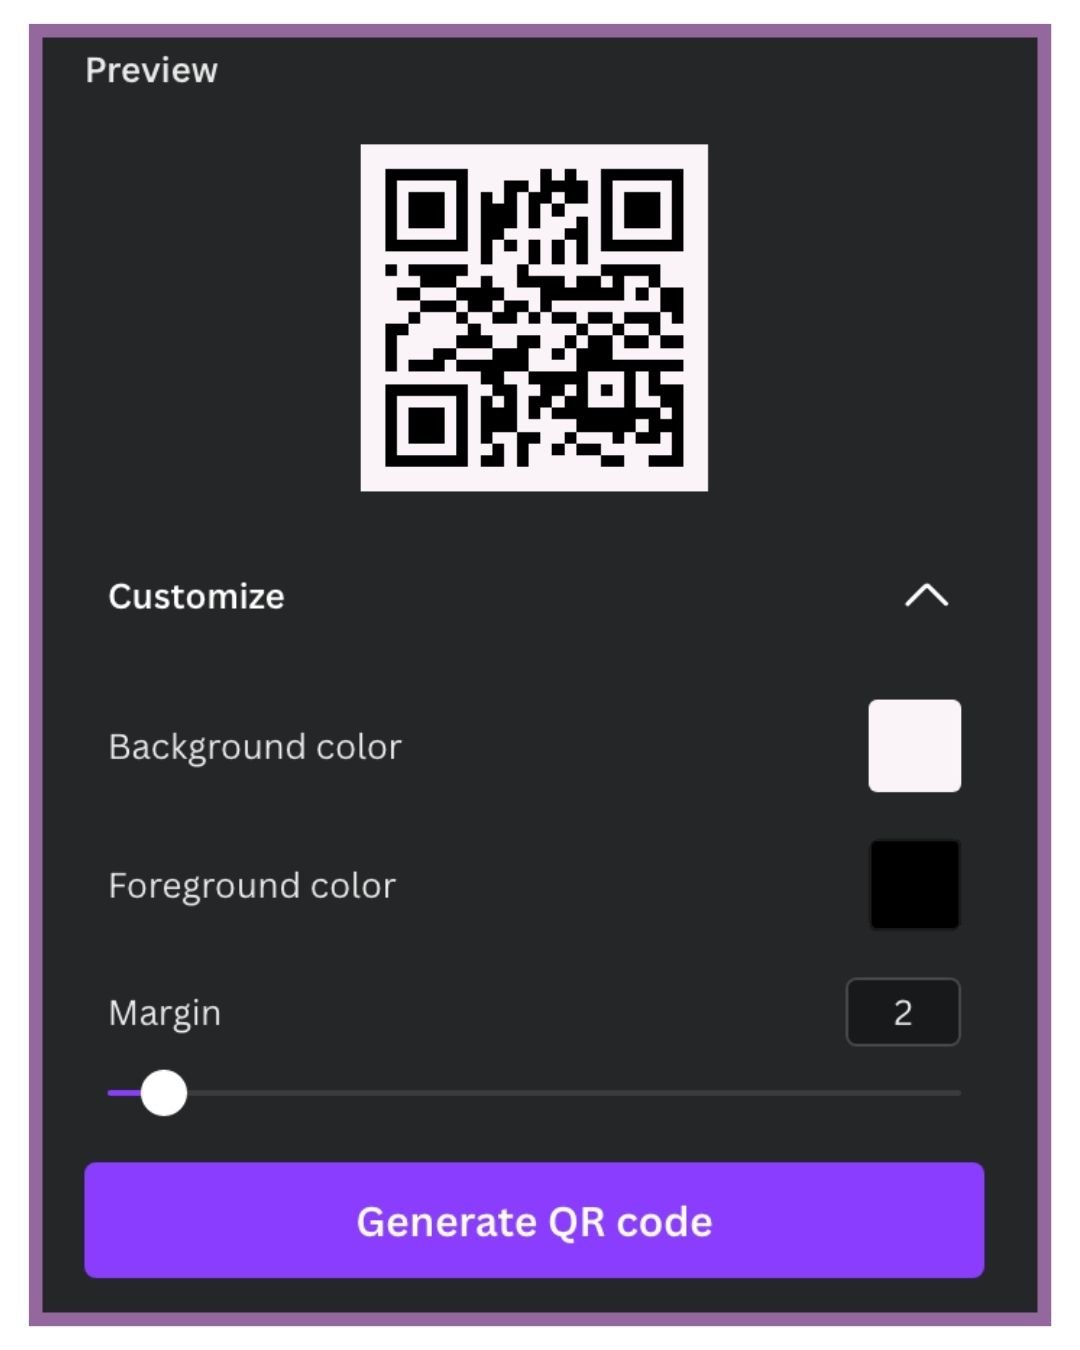
4. Generate QR Code
Once you’re satisfied with the QR code design, you can click on the button that says “Generate QR Code”.

Your code will automatically be generated and added to your design. You can resize this and add it anywhere you like.
5. Export QR Code Design
If you want the QR code on its own, you can resize it to fit your current design and download this as a PNG file with a transparent background (Canva Pro account is required for this).
Alternatively, you can create a graphic that includes the QR code and export your design as a JPEG or PNG file (file types vary based on what you’re using the QR code for).
I’ve provided an example below of a graphic you could create using your QR code.

Final Thoughts
Now you have your own personalized QR code!
Creating a QR code is a great way to make your online business more accessible to your audience (and potential clients & customers).
I hope you found this Canva tutorial helpful. If you did, feel free to save it for later by pinning any image in this article to one of your boards on Pinterest!
What are your favorite time-saving Canva tips? Let me know in the comments!
If you enjoyed this, share the love!