How to Add a White Outline to Your Image in Canva
Disclaimer: Hey there, friend! This article includes affiliate links for Canva (a design tool I use, love & swear by) and I would love if you decided to use them. Affiliate links help creators like me to fund the free content that we provide on our blogs. Thank you for your endless support!
If you’ve ever wondered how to create that trendy white outline effect that’s all over Instagram these days, you’re in the right place!
Thanks to Canva, you can now easily add a white border/outline to any of your images (no Photoshop or fancy apps required). Please keep in mind that this feature will work much more seamlessly if you’re using the desktop version of Canva.
If you’re ready to level up your Canva design skills, then read along to learn how to easily add a white outline to your photos in Canva with this new time-saving feature.
Let’s get to it!
Try Canva Pro free for 30 Days
If you don’t have one already, make sure you sign up for a Canva account. You can create amazing designs with the free version, but I personally recommend opting for Canva Pro if you plan on batch creating graphics for your blog, social media account or business website.
Canva Pro is incredibly affordable and you get unlimited access to over a million elements, premium stock photos, graphics, the ability to upload custom fonts and other design features. The subscription cost is truly such a small price to pay for all that you get in return!
And if you click that little image below, you can take Canva Pro for a spin, completely free for 30 days!
Related: Canva Pro Review: Should you upgrade?
1. Create Your Design
Go to your Canva home page and click ‘Create a design’.
For this particular feature, it doesn’t matter which dimensions you choose for your graphic. You can either create a new post or select an existing one.
Shameless Plugin: You can find tons of ready-to-use graphics in my Instagram Engagement Template Bundle for Canva!
2. Use the Canva Background Remover
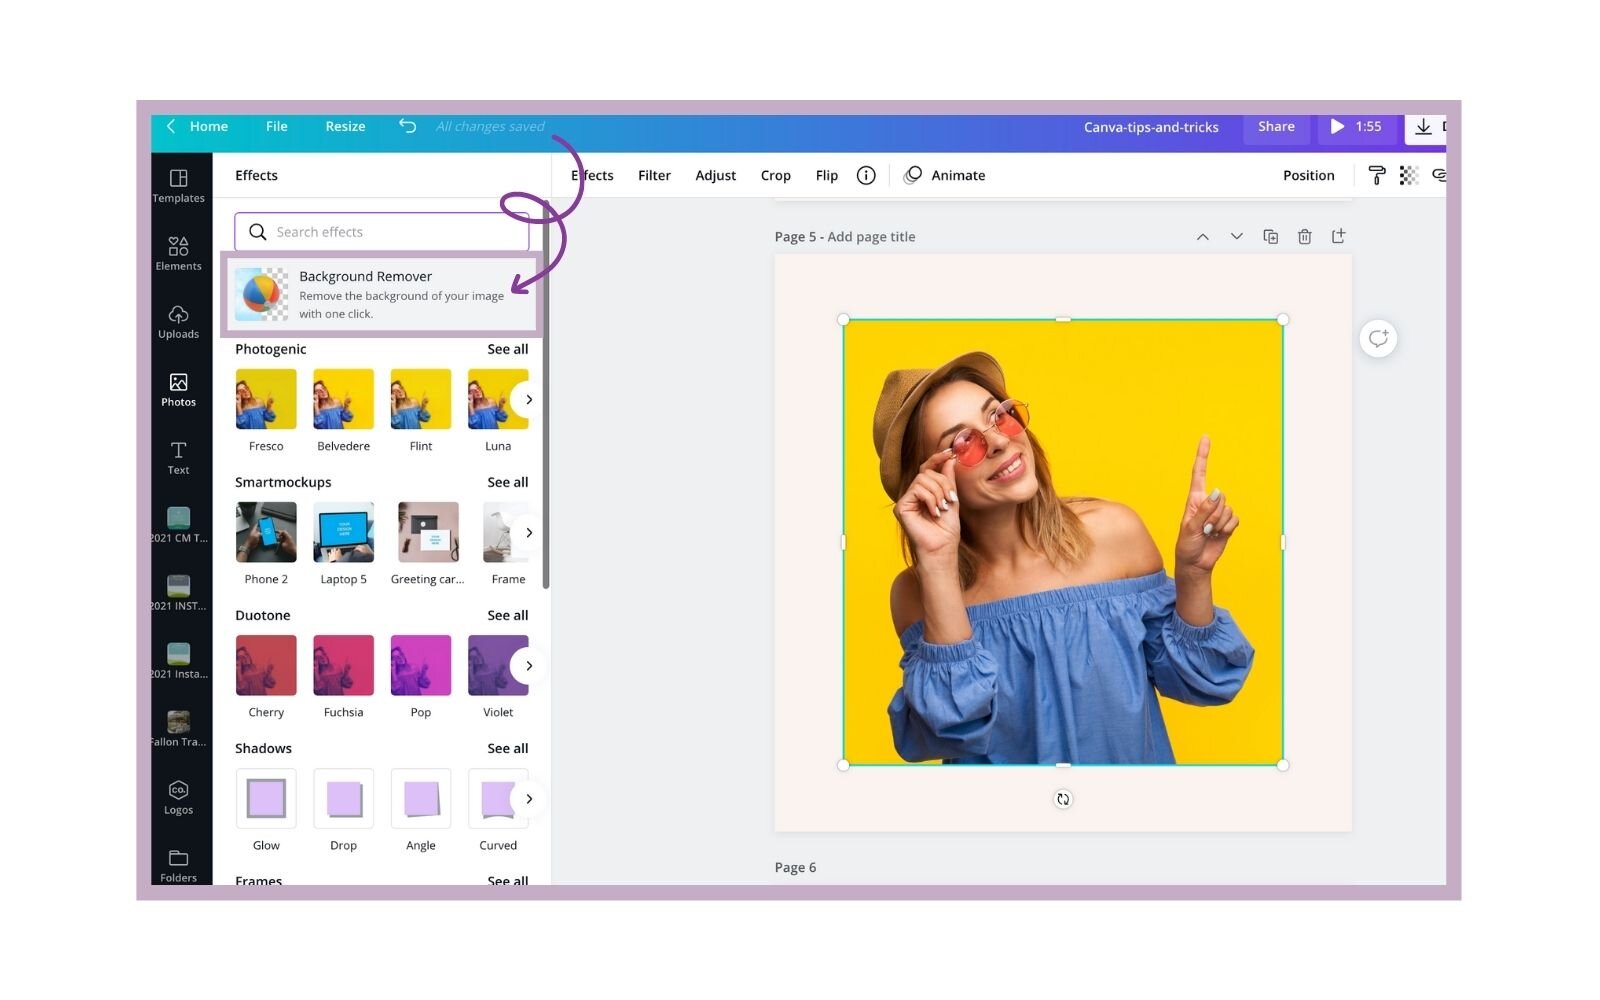
If you want to add a white outline to your image, you’ll first need to remove the background of your image. Fortunately, Canva Pro offers a one-click solution for this!
Upload your image to Canva and add it to your page/template
Select your image
Go to > Effects
Select > Background Remover
Side note: if you don’t have access to Canva Pro, you can sign up for a free Canva Pro trial, or use remove.bg to remove the background of your image.
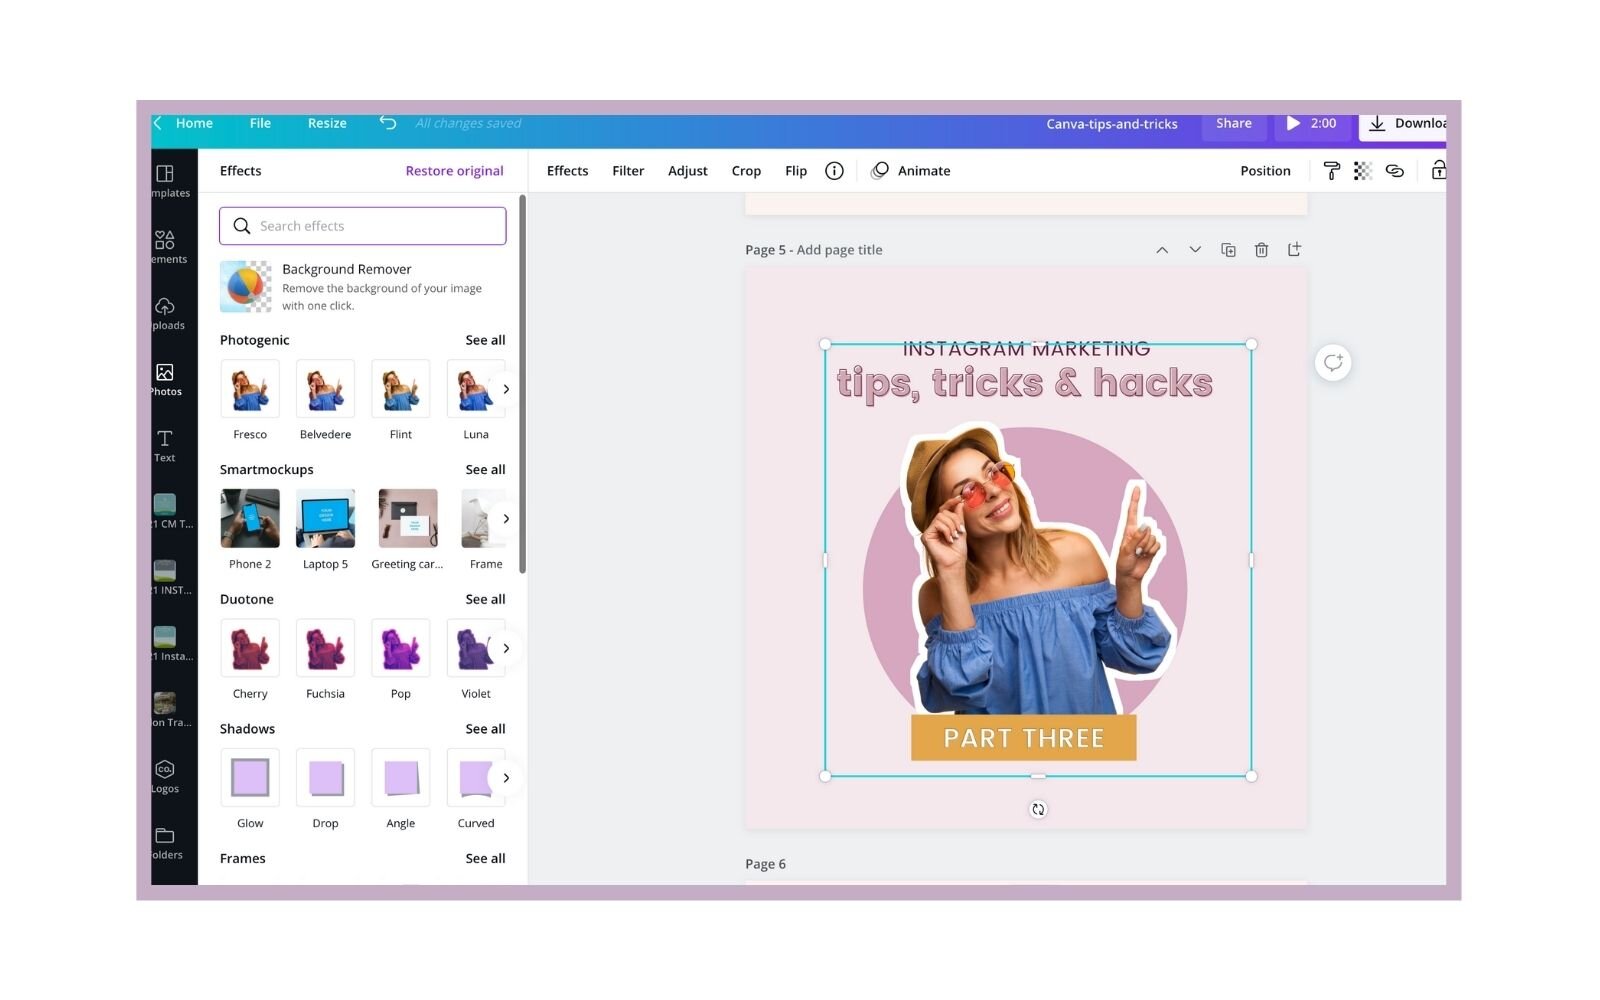
3. Apply the Glow Shadow Effect
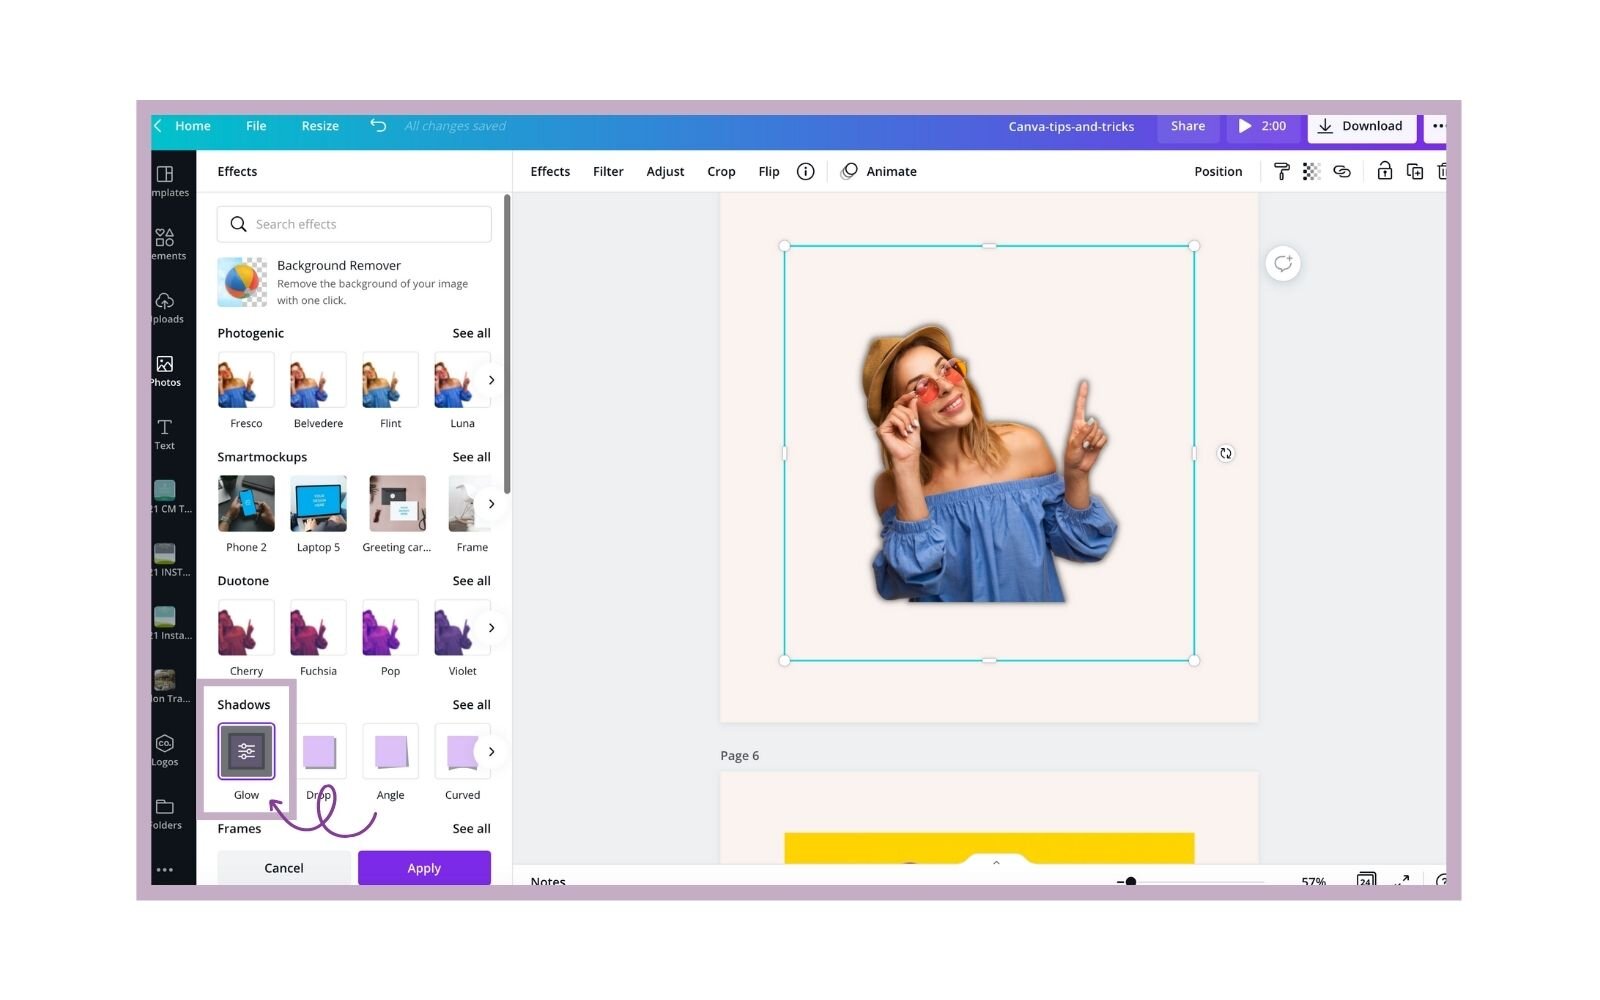
Once the background of your image is removed, you can apply the white outline/border effect.
Select your image
Go to > Effects
Under ‘Shadow’, you will see an effect that says ‘Glow’. Apply this option and then click on the settings icon that displays
You’ll then be able to adjust the following settings: size, transparency, blur and color. These are the recommended settings for a solid white outline:
Size: personal preference, but I recommend anywhere from 8-14
Transparency: 100
Blur: 0
Color: White
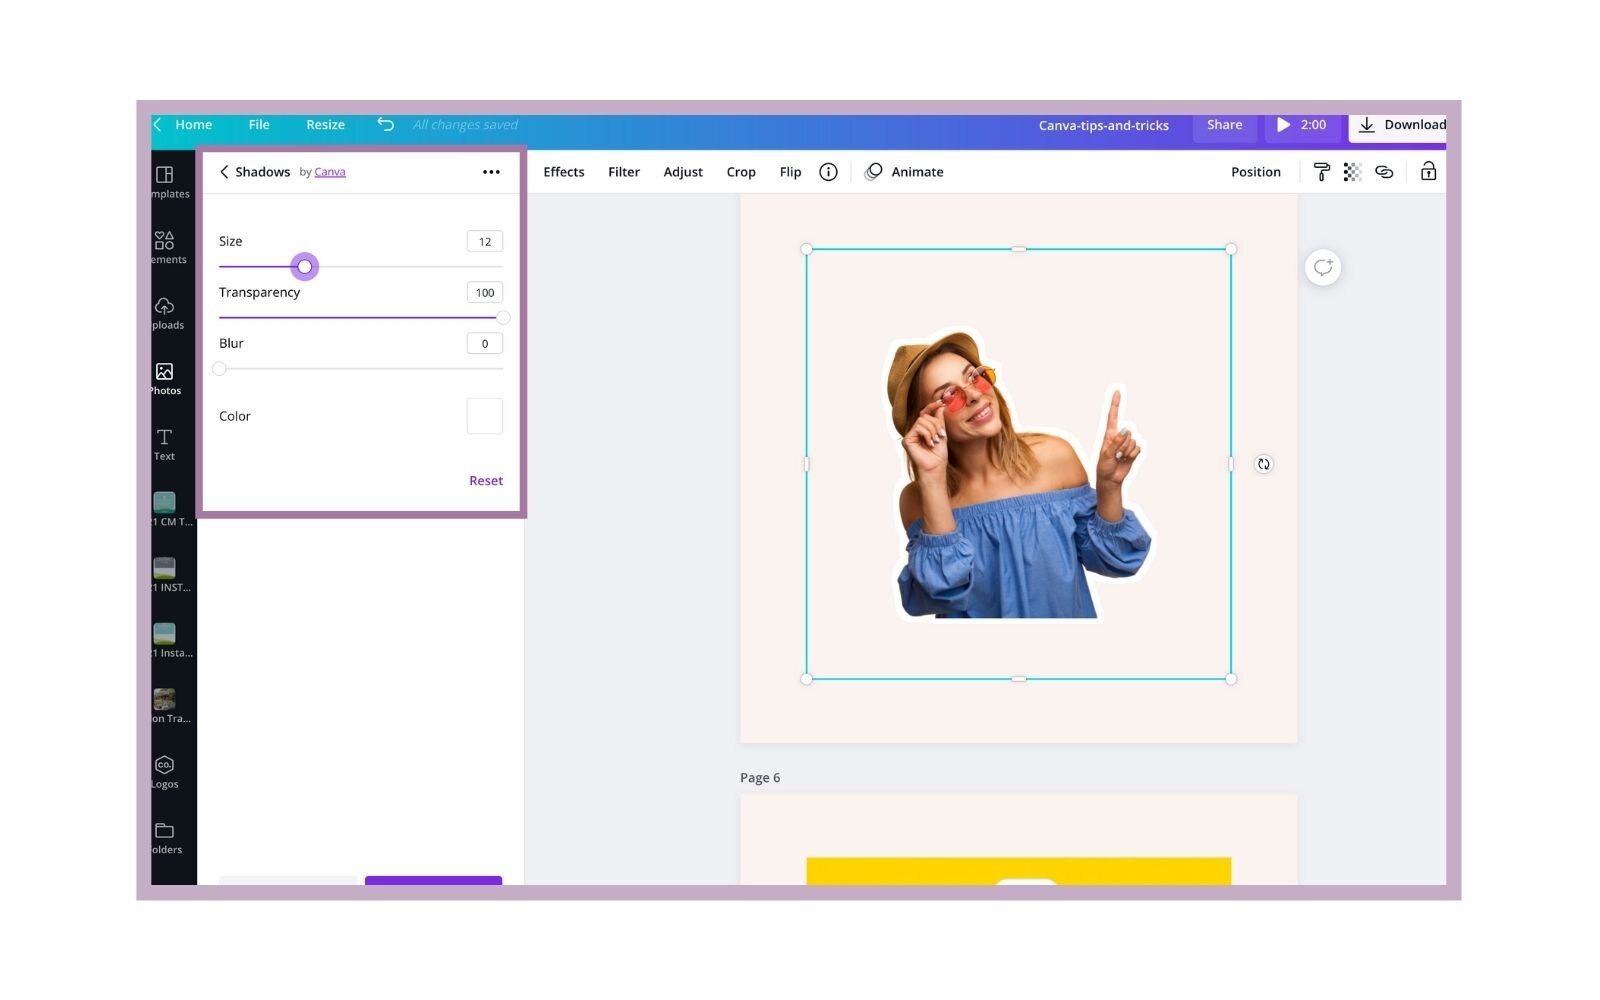
And that’s it! You can now make any adjustments necessary to create your ideal white outline. This may take some practice and playing around to see what settings work best for your specific images/style.
Want to save time designing? Get access to 495+ Instagram Engagement Templates for Canva
Instead of struggling ~all day errr day~ inside of Canva with a design you’re not even confident in, you could grab the Instagram Engagement Template Bundle with 248 share-worthy posts that come in both 1080x1080 and 1080x1350 format (495+ graphics total!).
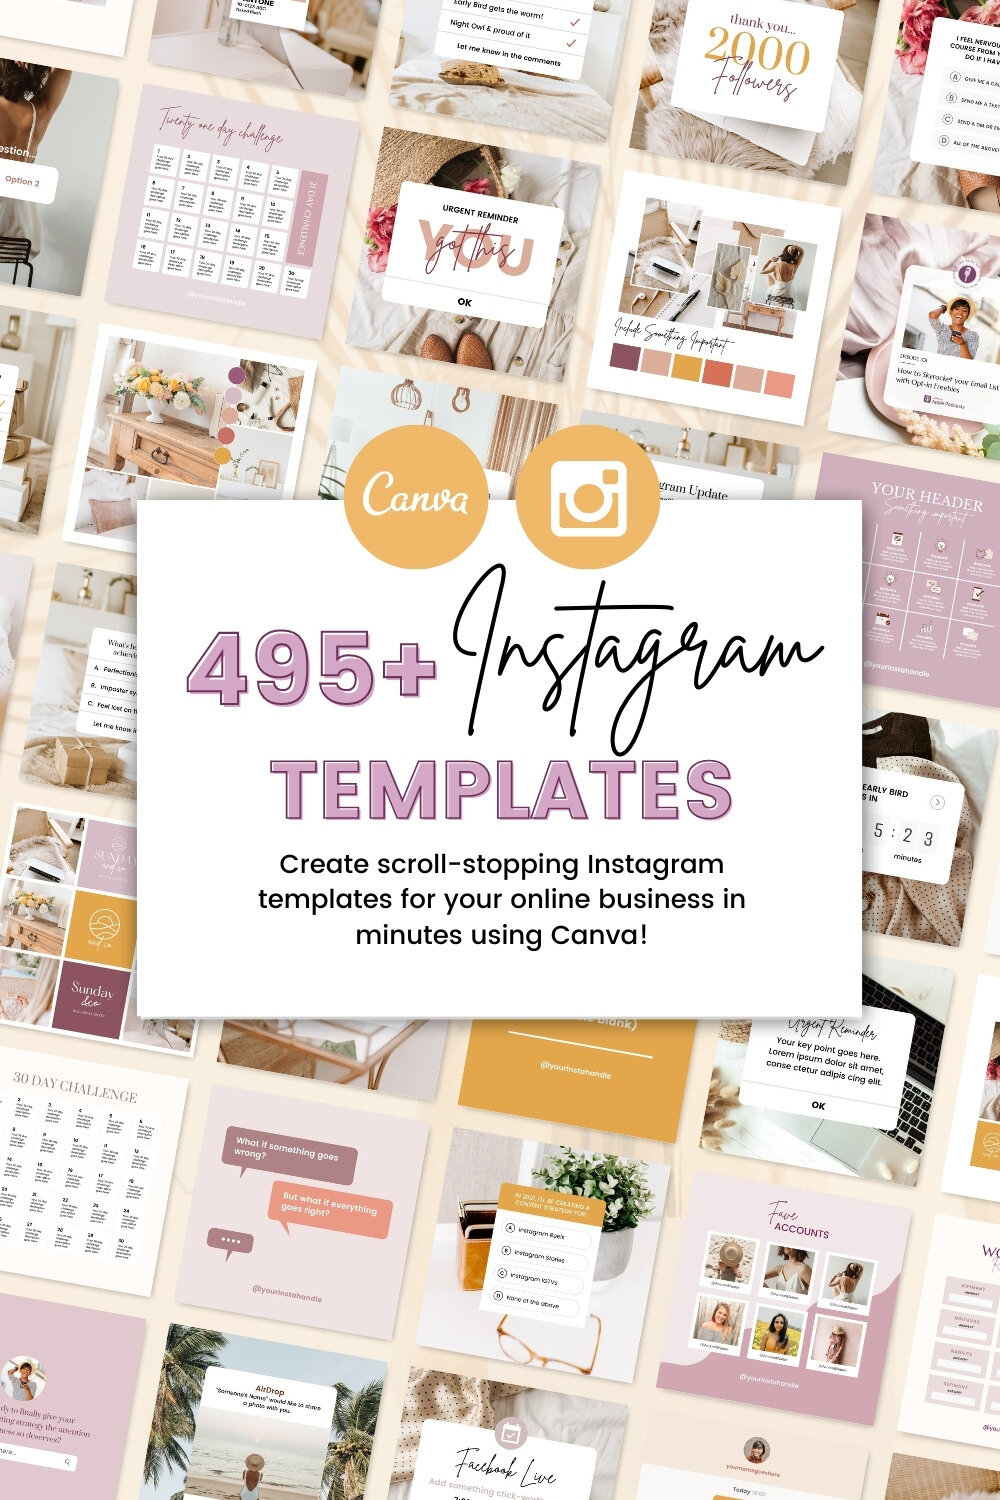
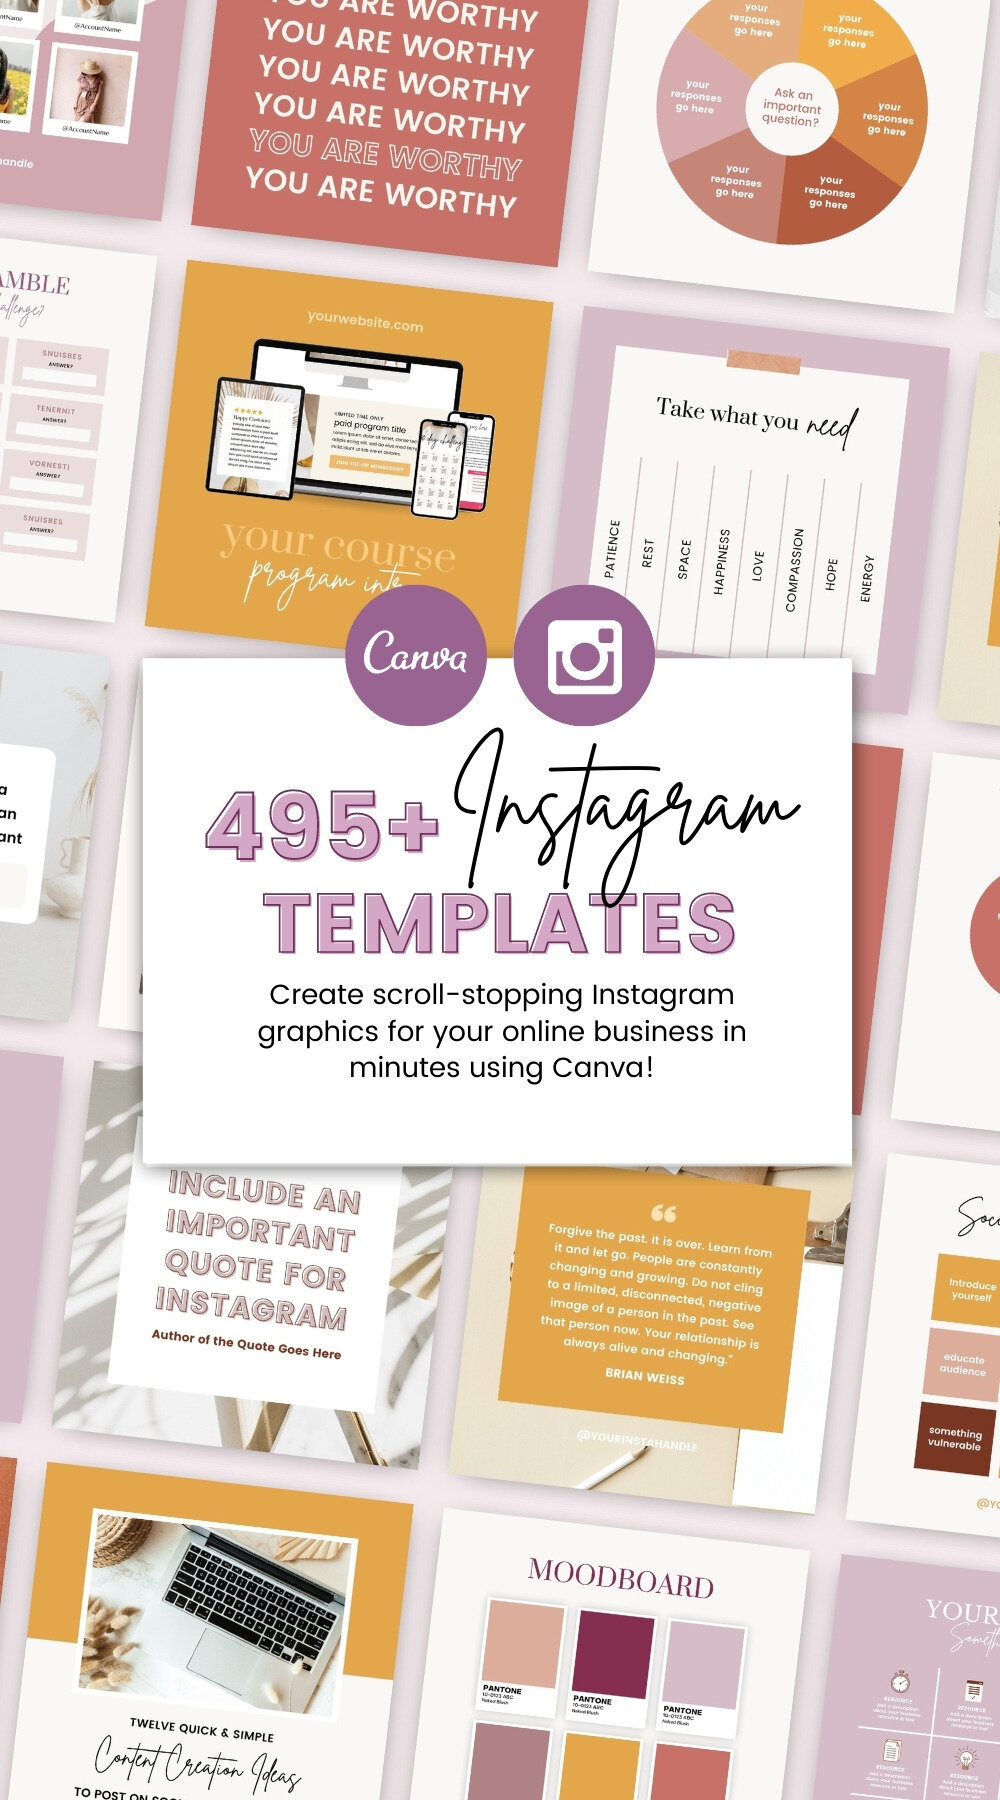
Yes, you heard that right— 495 scroll-stopping templates for just $37. I might be slightly biased, but that’s a steal if you ask me!
Inside the bundle, you’ll be getting:
Step-By-Step & Process Graphics
Checklist Style Posts
Trendy Notification & Reminder Templates for engagement boost
GIF and meme style templates to increase shares & saves
Venn Diagram, Bar & Pie Charts
Games & Challenges to boost engagement
Resources & Tools Graphics for affiliate offers
Shareable Quote Graphics
Moodboard Templates to keep branding consistent
Client Testimonial Templates to show Social Proof
Tech mockups for digital product offers
Call-to-action templates to increase leads & sales
Need I say more? Grab the bundle while it lasts!
If you enjoyed this, share the love!
I hope you found this Canva tutorial helpful. If you did, feel free to save it for later by pinning any image in this article to one of your boards on Pinterest!
What’s your favorite Canva tips, tricks and hacks to save time designing? Let me know in the comments!